10 Common Watercolor Mistakes Beginners Make (And How to Fix Them)
Watercolor painting looks so effortless when you watch someone else do it. A few gentle brushstrokes, a little water, and suddenly beautiful flowers, dreamy landscapes, or soft washes of color appear on the paper.
But when you try it yourself, things don’t always go as planned. Your colors turn muddy, the paper starts to buckle, or that beautiful soft wash dries into a patchy mess.
Sound familiar?
The truth is, watercolor painting can be a little unpredictable, especially when you’re just starting out. Unlike acrylics or oils, watercolor has a mind of its own. The water moves, pigments spread, and sometimes the result looks completely different from what you imagined.
But here’s the good news: most beginner watercolor mistakes are incredibly common and surprisingly easy to fix.
Whether you’re painting delicate florals, filling your sketchbook with little illustrations, or simply enjoying a relaxing creative afternoon, understanding these mistakes can make watercolor painting much more enjoyable.
Let’s look at 10 common watercolor mistakes beginners make and how to avoid them.
1. Using Too Much Water
One of the most common watercolor mistakes is adding too much water to your brush or paper.
Water is what makes watercolor painting so magical, but it can also be the reason your painting doesn’t turn out the way you hoped.
When your brush is overloaded with water, pigments spread uncontrollably, colors become extremely pale, and little puddles form on the paper.
Sometimes the water even pushes pigments away, leaving strange cauliflower-shaped marks as everything dries.
How to fix it:
Before touching your paper, gently tap your brush against the edge of your water container or blot it on a clean cloth.
You want your brush to feel damp and loaded with color, but not dripping.
Try painting a few simple squares using different amounts of water. You’ll quickly discover how much control you gain by adjusting the water on your brush.
Beginner tip: Keep a small piece of scrap watercolor paper next to your painting. Test your brushstrokes there before adding them to your actual artwork.
2. Using the Wrong Paper
If you’ve ever watched your paper wrinkle, curl, or fall apart while painting, there’s a good chance the paper was the problem.
Regular printer paper, notebook pages, and most sketchbook papers simply aren’t designed to handle watercolor.
They absorb water unevenly, which makes it difficult to create smooth washes or beautiful color blends.
Even expensive watercolor paints can look disappointing on unsuitable paper.
How to fix it:
Choose paper specifically designed for watercolor painting.
For beginners, 300 gsm (140 lb) watercolor paper is an excellent starting point. It’s thick enough to handle moderate amounts of water without immediately buckling.
Cold-pressed watercolor paper is particularly beginner-friendly because its slightly textured surface works beautifully for landscapes, florals, and everyday illustrations.
You don’t need the most expensive paper available, but choosing proper watercolor paper can make an enormous difference.
Beginner tip: Watercolor paper made from cellulose is often more affordable, while cotton watercolor paper usually handles repeated washes and lifting techniques better.
3. Mixing Too Many Colors Together
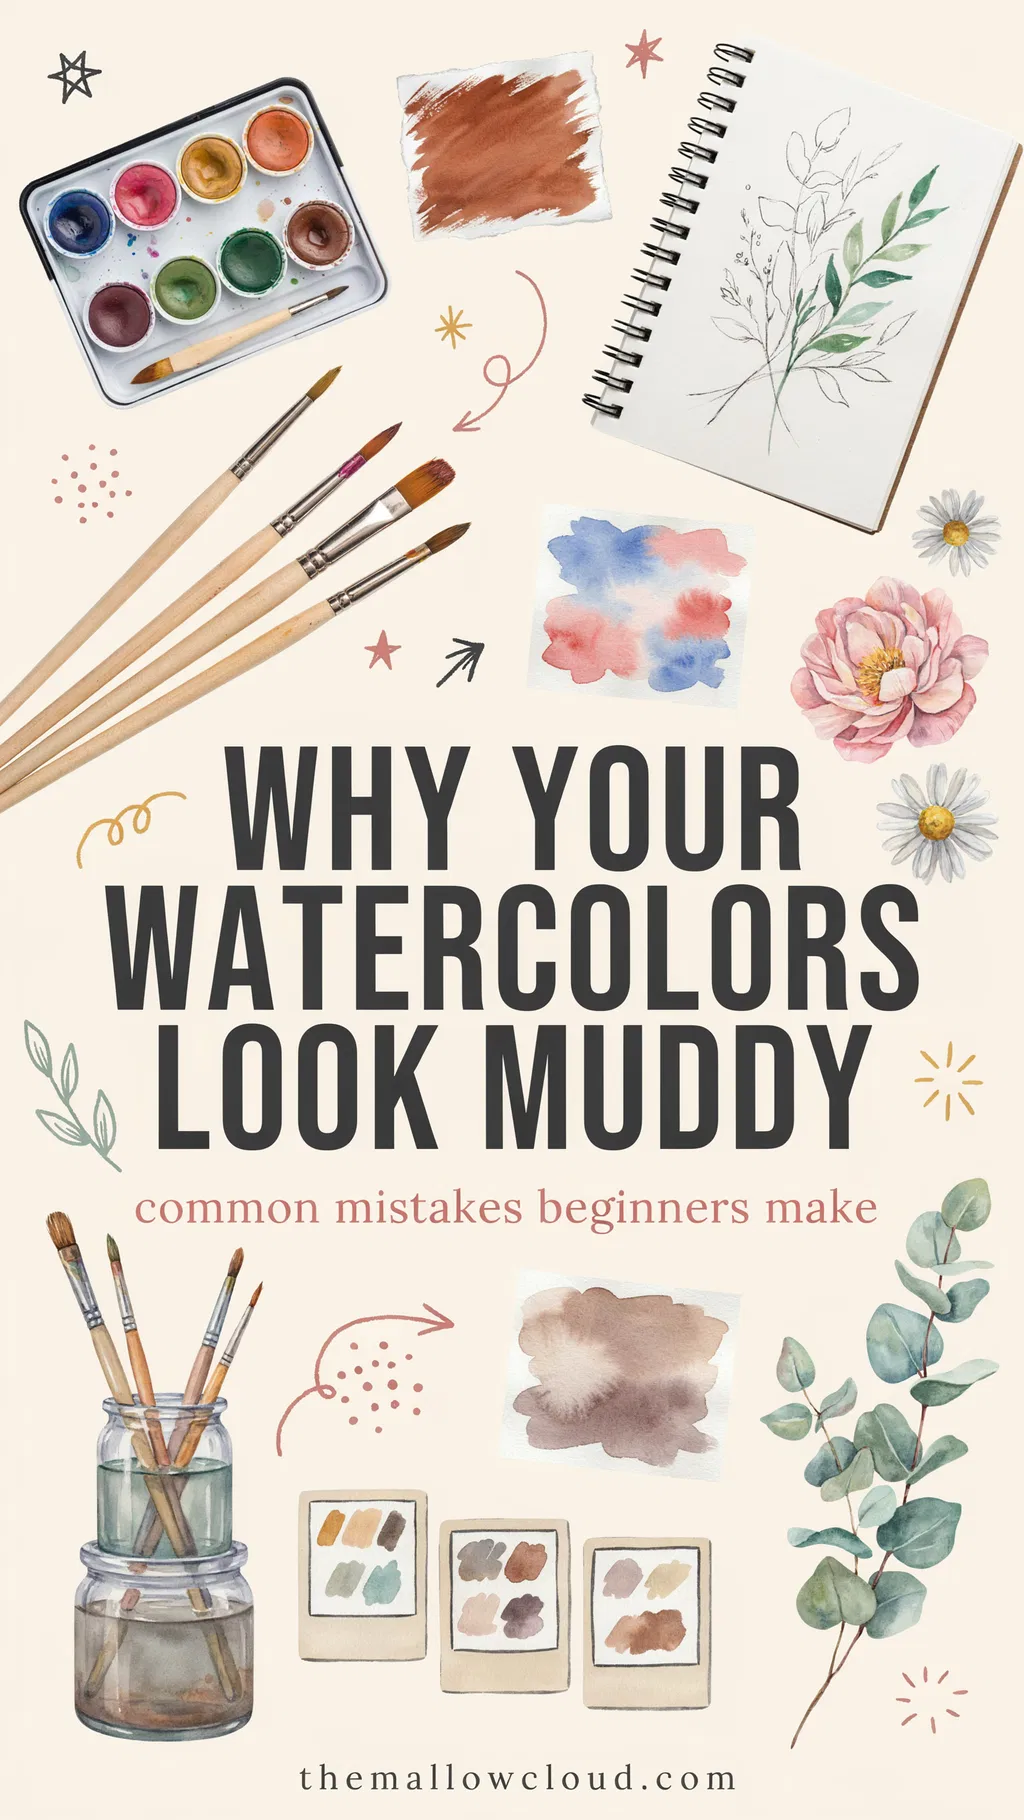
Have you ever tried mixing a beautiful shade of green or purple, only to end up with a dull, muddy brown?
This happens to almost every watercolor beginner.
It’s tempting to keep adding another color when a mixture doesn’t look quite right. Unfortunately, the more pigments you combine, the harder it can become to maintain a clean, vibrant shade.
Muddy colors can also appear when complementary colors accidentally blend together on the paper.
How to fix it:
Start by mixing just two colors at a time.
For example:
- Yellow and blue for green
- Red and blue for purple
- Red and yellow for orange
Once you’re comfortable with simple mixtures, experiment with adding tiny amounts of a third color to create more interesting shades.
Try making your own watercolor mixing chart in your sketchbook. It’s a lovely little creative exercise and becomes a useful reference for future paintings.
Beginner tip: Clean your brush thoroughly between colors to avoid accidentally introducing unwanted pigments into your mixtures.
4. Painting Over Layers Before They’re Dry
Patience is probably one of the most underrated watercolor painting skills.
When you’re excited about a painting, it’s natural to want to continue working immediately.
But adding another layer of watercolor before the previous one has dried can cause unexpected bleeding, muddy areas, and blurred details.
Sometimes these effects are exactly what you want. Other times, they completely ruin the crisp edges you’ve been trying to create.
How to fix it:
Learn the difference between two essential watercolor techniques.
Wet on wet: Applying wet paint to an already damp surface. This creates soft transitions, beautiful blooms, and dreamy blended effects.
Wet on dry: Applying paint to dry paper. This gives you more control and creates defined shapes and details.
Before adding crisp details or transparent glazing layers, allow the previous layer to dry completely.
You can gently touch an unpainted area nearby to check the paper’s temperature, but avoid touching wet pigment.
Beginner tip: Work on different parts of your painting while waiting for another section to dry.
5. Using Too Much Paint
Watercolor is all about transparency.
One common beginner mistake is using watercolor almost like acrylic paint, applying thick, highly concentrated layers in an attempt to achieve rich colors immediately.
While watercolor can certainly produce beautiful dark tones, repeatedly applying heavy paint can make your artwork look flat or overworked.
It also reduces the delicate, luminous quality that makes watercolor so special.
How to fix it:
Start with lighter washes and gradually build up the color.
Let each layer dry before applying another transparent wash.
This technique is called glazing, and it’s wonderful for creating depth in watercolor flowers, landscapes, and illustrations.
Imagine painting a flower petal. Instead of applying a dark pink immediately, begin with a gentle blush of color. Once it dries, add a slightly deeper pink where the petal folds or curves.
The result feels much softer and more dimensional.
Beginner tip: Watercolor usually appears lighter once it dries, so allow your colors to settle before deciding whether another layer is necessary.
6. Scrubbing the Paper Too Much
Sometimes a brushstroke goes wrong, and your first instinct is to fix it immediately.
You add more water, scrub the area with your brush, and try to move the pigment around until it looks right.
Unfortunately, watercolor paper can only handle so much friction.
Too much scrubbing damages the surface, causing the fibers to lift, pill, or become rough.
Once that happens, the damaged area may absorb pigment differently from the rest of your painting.
How to fix it:
Use a light touch and let the brush glide across the paper.
If you need to correct a mistake, first allow the paint to dry. Depending on the pigment and paper, you may be able to gently lift some color using a clean, slightly damp brush.
Blot the loosened pigment carefully with a clean paper towel.
Keep in mind that some watercolor pigments stain the paper more strongly than others.
Beginner tip: Practice making confident brushstrokes without repeatedly going back over the same area.
7. Forgetting to Leave White Spaces
One of the biggest differences between watercolor and many other painting techniques is how you create highlights.
With acrylic paint, you can simply add white paint over a darker area.
Traditional transparent watercolor works differently.
The brightest white in your painting usually comes from the paper itself.
If you accidentally paint over every white area, creating glowing highlights becomes much more difficult.
How to fix it:
Before you begin painting, take a moment to identify the lightest areas of your subject.
These might include:
- The sparkle on a glass vase
- Sunlight touching a flower petal
- Bright reflections on water
- Tiny highlights in a landscape
Leave those areas unpainted whenever possible.
You can also experiment with masking fluid to protect small white details, provided your watercolor paper can handle it.
Beginner tip: Start with simple subjects that include obvious highlights, such as lemons, strawberries, or delicate flowers.
8. Using a Brush That’s Too Small
It might seem logical to use a tiny brush because it gives you more control.
But when you’re painting large areas with watercolor, a small brush can actually make the process much harder.
Tiny brushes don’t hold much water or pigment. That means you need to reload them constantly, which can create streaky washes and uneven patches.
They can also encourage you to focus on little details before establishing the overall shape of your painting.
How to fix it:
Choose your brush size according to the area you’re painting.
A medium or large round watercolor brush is one of the most versatile tools for beginners.
It can hold plenty of water for soft washes while still forming a fine point for smaller details.
For painting broad backgrounds, a flat brush can also be incredibly helpful.
You don’t need a huge collection of brushes. A few good-quality brushes are usually enough to get started.
Beginner tip: Practice painting both broad strokes and thin lines using the same round brush. You’ll be surprised by how versatile it can be.
9. Trying to Control Every Brushstroke
Watercolor painting is naturally unpredictable.
Pigments flow into damp areas, colors blend in unexpected ways, and interesting textures appear as the paper dries.
For beginners, this lack of control can feel frustrating.
You might spend too much time trying to make every petal perfectly symmetrical or every color transition completely smooth.
But trying to control every little movement often leads to stiff, overworked paintings.
How to fix it:
Allow yourself to experiment with the natural movement of watercolor.
Try dropping one color into another while the paper is still damp.
Tilt your paper slightly and watch the pigment travel.
Create loose watercolor flowers using just a few expressive brushstrokes instead of carefully outlining every petal.
Sometimes the most beautiful results happen when you stop trying to make everything perfect.
Beginner tip: Set aside one sketchbook page just for playful watercolor experiments, without planning a finished painting.
10. Giving Up Too Quickly
Perhaps the biggest watercolor mistake beginners make has nothing to do with paint, paper, or brushes.
It’s expecting beautiful results immediately.
When you scroll through gorgeous watercolor illustrations online, it’s easy to forget that the artists behind them have probably spent years practicing.
Your first flowers might look like colorful blobs. Your landscapes may turn out darker than expected. Your color blends might not look anything like the tutorial you followed.
That’s completely normal.
Watercolor painting requires practice, especially when it comes to understanding how water behaves.
How to fix it:
Focus on small, enjoyable painting exercises rather than creating perfect finished artwork every time.
Try painting:
- A page filled with simple watercolor leaves
- Five different color gradients
- Tiny watercolor strawberries
- A collection of loose flowers
- Simple skies using two or three colors
Keep your early paintings instead of throwing them away. Looking back at them after a few weeks or months can be surprisingly motivating.
Beginner tip: Create a little watercolor practice journal and date your paintings. It’s a wonderful way to see your progress.
Quick Guide: Common Watercolor Problems and Easy Fixes
| Watercolor problem | What to try instead |
|---|---|
| Colors spread everywhere | Use less water on your brush |
| Paper wrinkles and buckles | Choose 300 gsm watercolor paper |
| Colors turn muddy | Mix fewer pigments and rinse your brush |
| Details bleed into the background | Let the previous layer dry completely |
| Painting looks heavy or flat | Build color gradually with transparent washes |
| Paper starts peeling | Avoid excessive scrubbing |
| Highlights disappear | Preserve the white of the paper |
| Backgrounds look streaky | Use a larger brush |
| Painting looks stiff | Experiment with loose brushstrokes |
| You’re unhappy with your progress | Practice simple shapes regularly |
A Few Simple Watercolor Exercises to Improve Your Skills
Now that you know the most common watercolor mistakes, why not turn them into a relaxing little practice session?
You don’t need to create an entire painting. Just grab your watercolor supplies, a glass of water, and a fresh sheet of paper.
Practice 1: Create a Smooth Gradient
Paint a small rectangle with a concentrated color at the top.
Gradually add more water as you move downward, allowing the color to become lighter.
This helps you understand water control and pigment concentration.
Practice 2: Paint Simple Leaves
Use the tip of a round brush to create a thin stem, then gently press and lift the brush to form leaf shapes.
Experiment with different amounts of pressure.
This is wonderful for practicing confident brushstrokes.
Practice 3: Explore Wet on Wet
Lightly dampen a small area of watercolor paper with clean water.
Drop two different colors into the wet surface and watch them blend naturally.
Try not to interfere too much.
This exercise helps you become comfortable with watercolor’s unpredictable nature.
Practice 4: Build Transparent Layers
Paint a light-colored circle and let it dry completely.
Add another transparent circle overlapping the first.
Continue adding shapes to discover how transparent watercolor layers interact.
Practice 5: Make a Color Mixing Chart
Choose three colors from your watercolor palette and explore all the different shades you can create by mixing them.
It’s a simple exercise that teaches you an incredible amount about your paints.
Final Thoughts: Enjoy the Beautiful Imperfections
Watercolor painting isn’t about making every brushstroke perfect.
It’s about learning how pigments and water work together, experimenting with color, and finding joy in the creative process.
Those unexpected blooms, soft edges, and imperfect little shapes are often what give watercolor paintings their charm.
The more you practice, the more comfortable you’ll become with techniques like wet on wet painting, transparent layering, and creating beautiful color blends.
So don’t be discouraged if your first attempts don’t look exactly how you imagined.
Grab your favorite watercolor supplies, open your sketchbook, and give yourself permission to experiment.
Because sometimes the prettiest watercolor paintings begin with a happy little accident.