10 easy fruit watercolor ideas
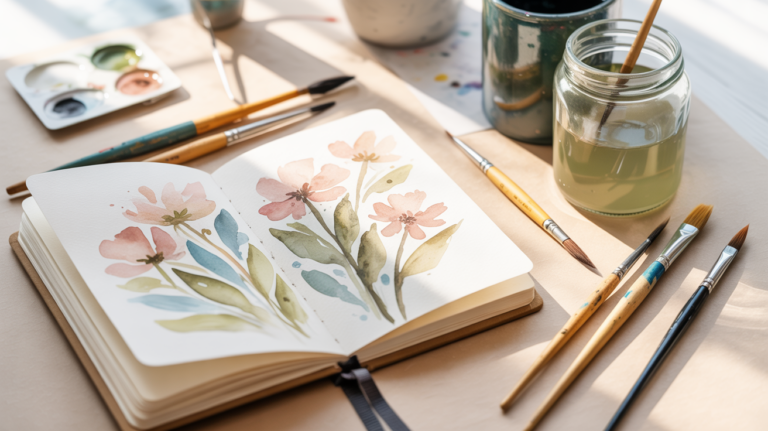
In a quiet corner of your home, perhaps on a small table by the window, a gentle play of soft watercolor tones begins to unfold. You take a deep breath and leave the day behind for a moment as you prepare your brush and paper. Each drop of water blends with pigment in a quiet dance of harmony. With every stroke, you create a small oasis of mindfulness, where even simple fruit motifs reveal their own beauty. These ideas invite you to decorate your space with luminous yet soft watercolor fruits.
How to Start Drawing
Many people feel overwhelmed because they believe they need to master complex techniques or own perfect materials. But just a few simple steps are enough to get started and rediscover the joy of painting. Reduce the process to the essentials and allow yourself to begin with light sketches. This way, you quickly develop a feeling for shape and color.
Light pencil sketch
Diluted watercolor paint
Soft brushes
Clean water container
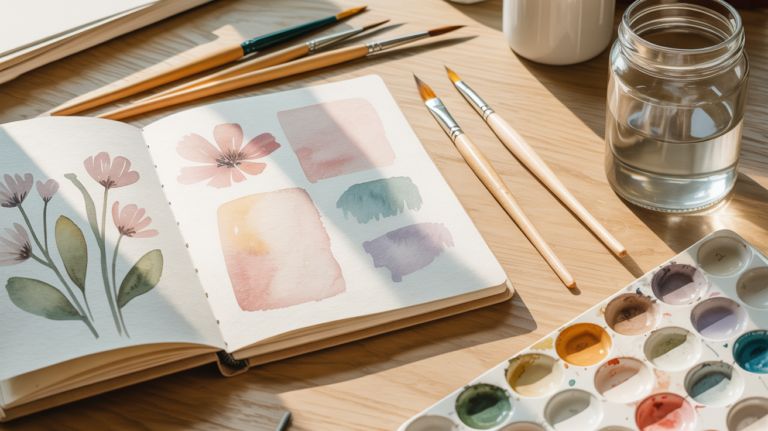
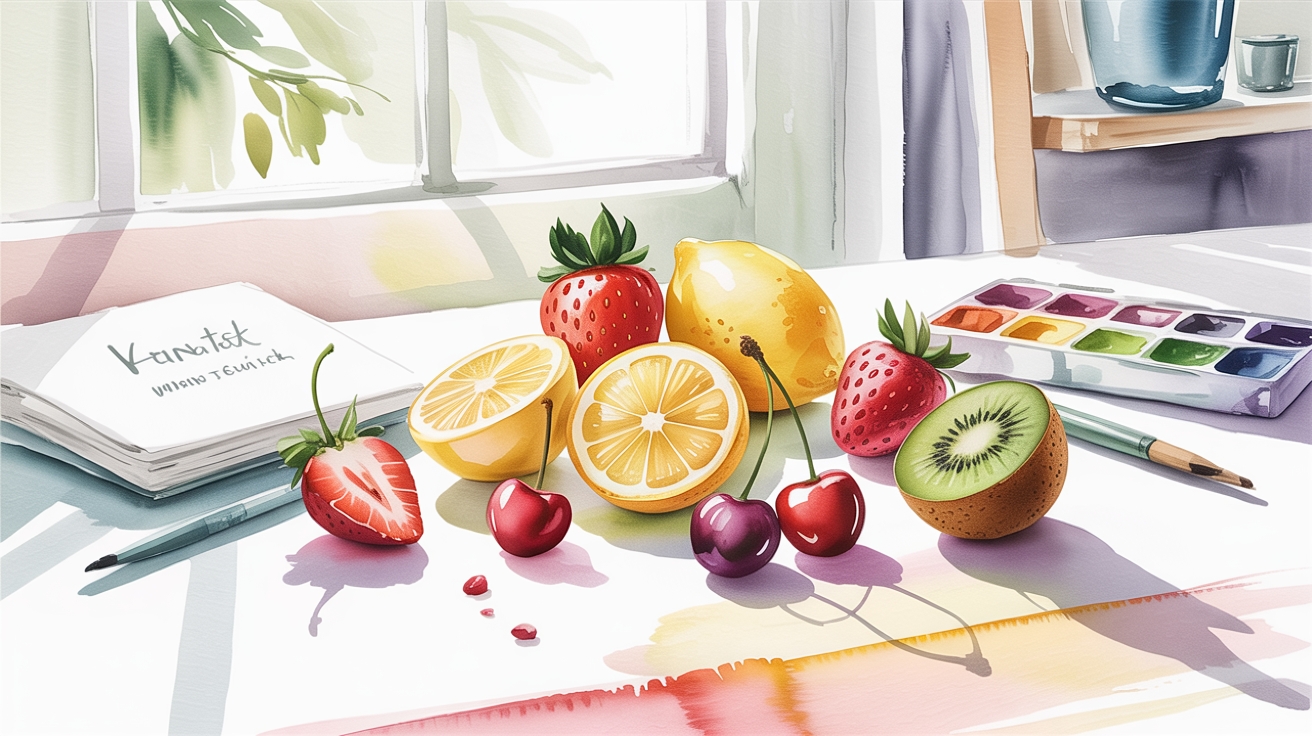
Simple Supplies for This Style
For these fruit motifs, you only need a few materials and a calm moment:
A watercolor pad with smooth paper
A set of softly tinted watercolor paints
Two to three soft brush sizes
Pencil and eraser
Soft Fruit Inspirations
Juicy Strawberry
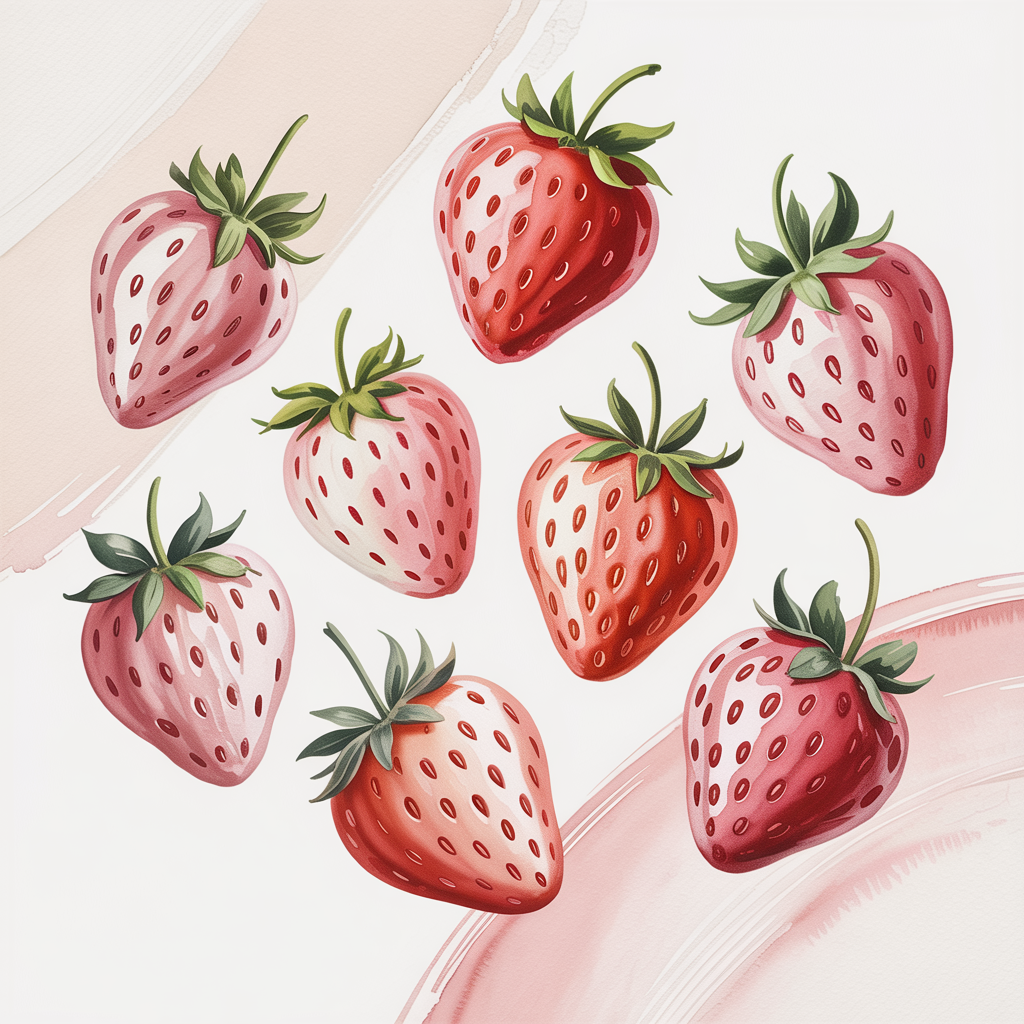
The strawberry is one of the most popular fruits and easy to draw. Its characteristic shape and tiny seeds offer interesting details for your watercolor study. With just a few tones, you can create a transition from light pink to rich red. The result feels lively and light.
The combination of soft shading and fine lines makes the strawberry an ideal subject for beginners. You learn how color blends with water and creates smooth gradients. Small imperfections do not feel distracting. They actually add character. The final piece feels fresh and vibrant.
How to paint it:
Light pencil sketch of the shape and seeds
Apply a first wash with light pink over the whole surface
Add deeper red accents into damp areas
Use a fine brush to define the seeds and add light shading
Finish with soft shadows underneath the fruit
Delicate Raspberry
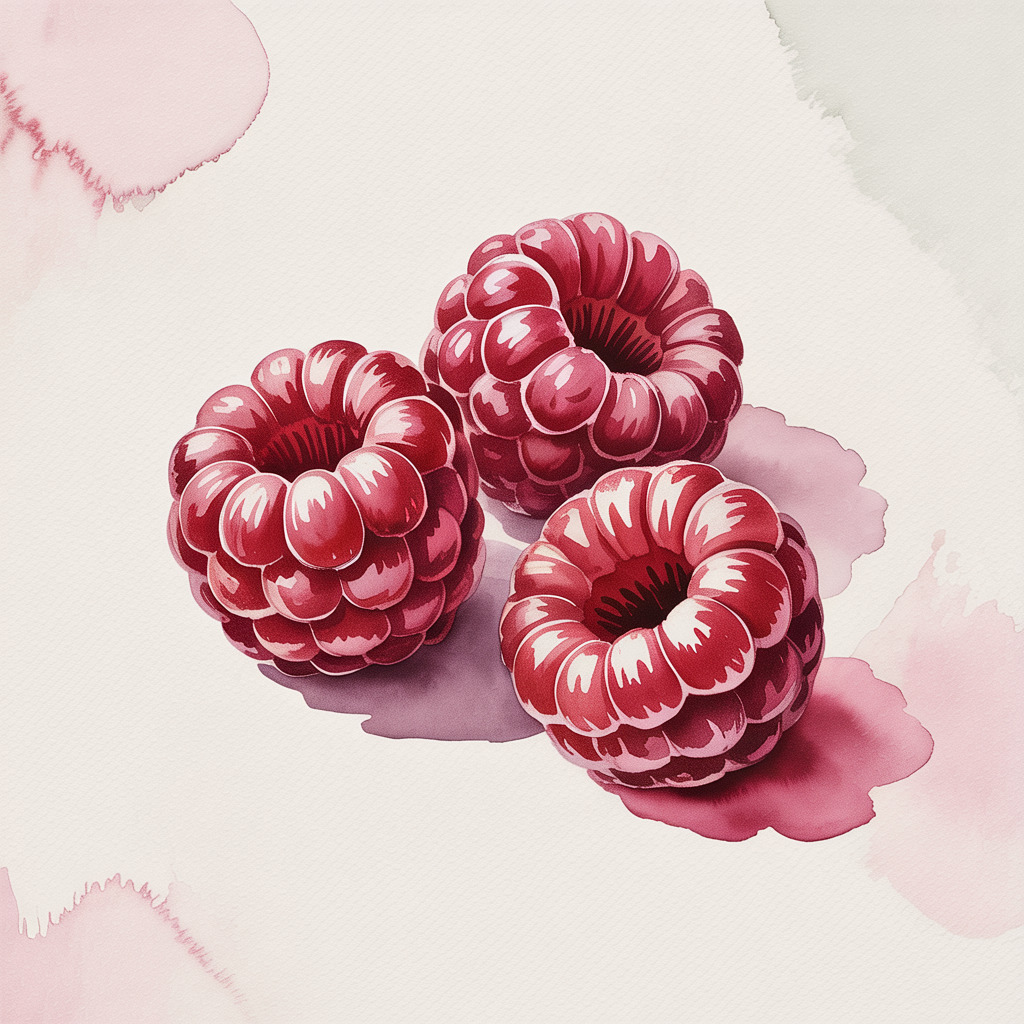
The raspberry is made up of many small segments that create an interesting structure. Each part carries its own subtle tone, bringing the fruit to life. Its natural asymmetry makes it perfect for experimenting. A gentle play of light and shadow enhances its depth.
Raspberries help you understand layered watercolor techniques. You practice treating small areas differently while keeping a harmonious overall look. The round shapes create a soft and inviting impression while helping you control water and pigment.
How to paint it:
Sketch the structure using small circular shapes
Apply a light pink base layer
Deepen certain areas with richer red tones
Add highlights with soft pink accents
Lightly suggest outlines between the segments
Sunny Yellow Lemon
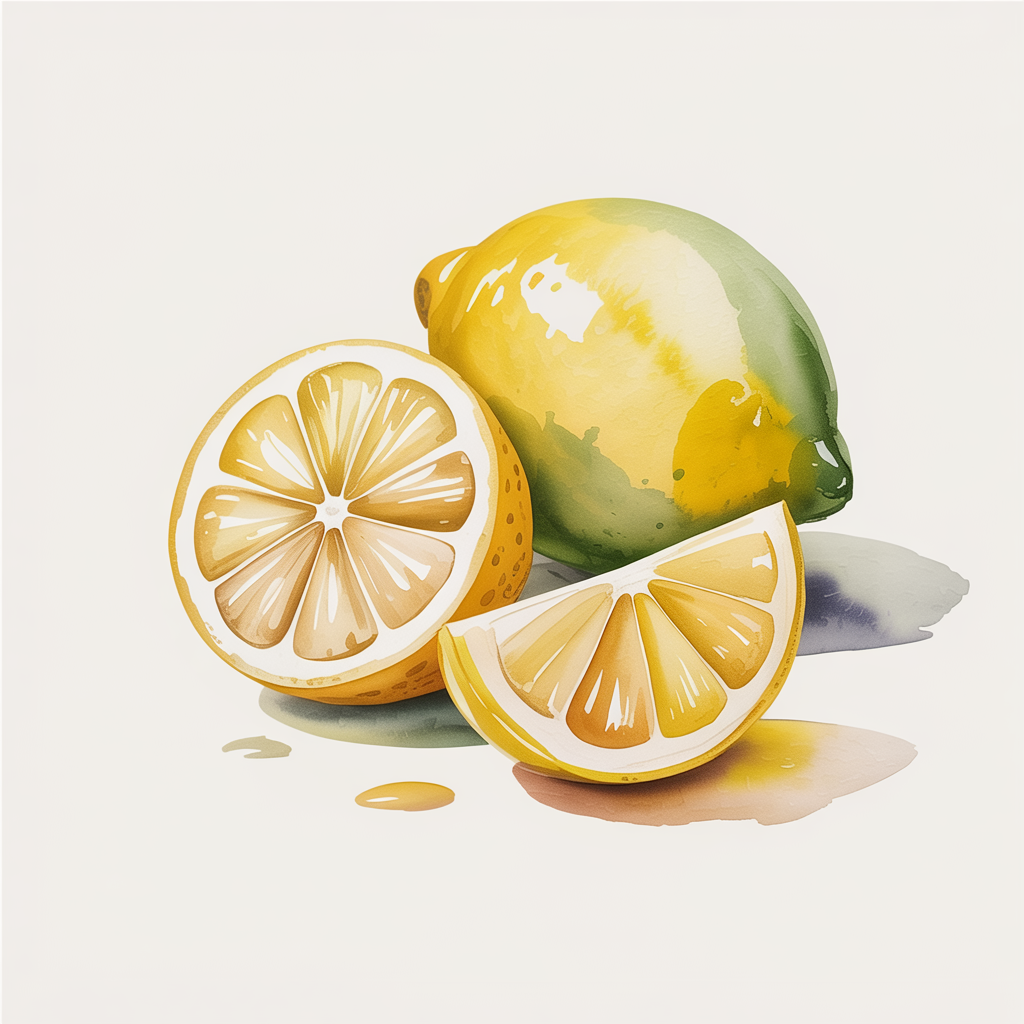
The lemon brings brightness into your painting and feels fresh and clean. Its slightly oval shape is simple and structured, making it great for beginners. A soft yellow that fades into a hint of green at the edges adds depth. The contrast between light and saturated areas creates interest.
With the lemon, you practice combining soft transitions with slightly sharper edges. The stronger pigment requires less water, making it easier to control. At the same time, you learn how light reflects on smooth surfaces. The result looks fresh and clear.
How to paint it:
Lightly sketch the outline of the lemon
Apply a soft yellow wash in the center
Add stronger yellow along the edges
Introduce subtle green tones at the tips
Use a fine brush to create soft shadows underneath
Crisp Apple
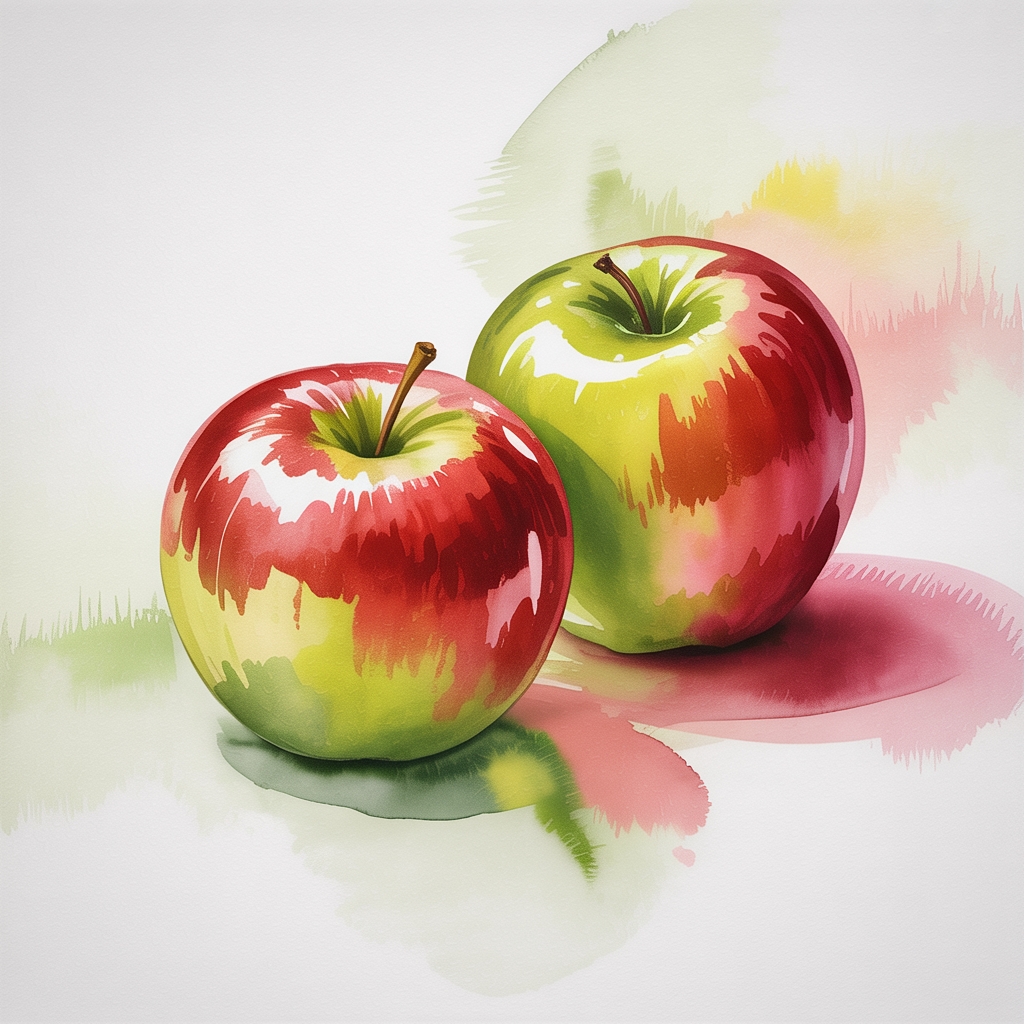
The apple combines a simple shape with subtle color transitions and offers plenty of room to experiment. Depending on the variety, you can use warm red, cool green, or soft yellow tones. Even a few layers of watercolor create volume. The round form is easy to sketch and quick to paint.
This subject trains your eye for depth and reflections. You learn how to use wet and dry brush techniques to create different surfaces. You also practice placing shadows to enhance the shape. The apple feels natural and grounded.
How to paint it:
Sketch a simple round shape
Apply the base color evenly
Add darker tones on one side for depth
Blend in green or yellow variations
Use almost clear water to create soft highlights
Tropical Pineapple
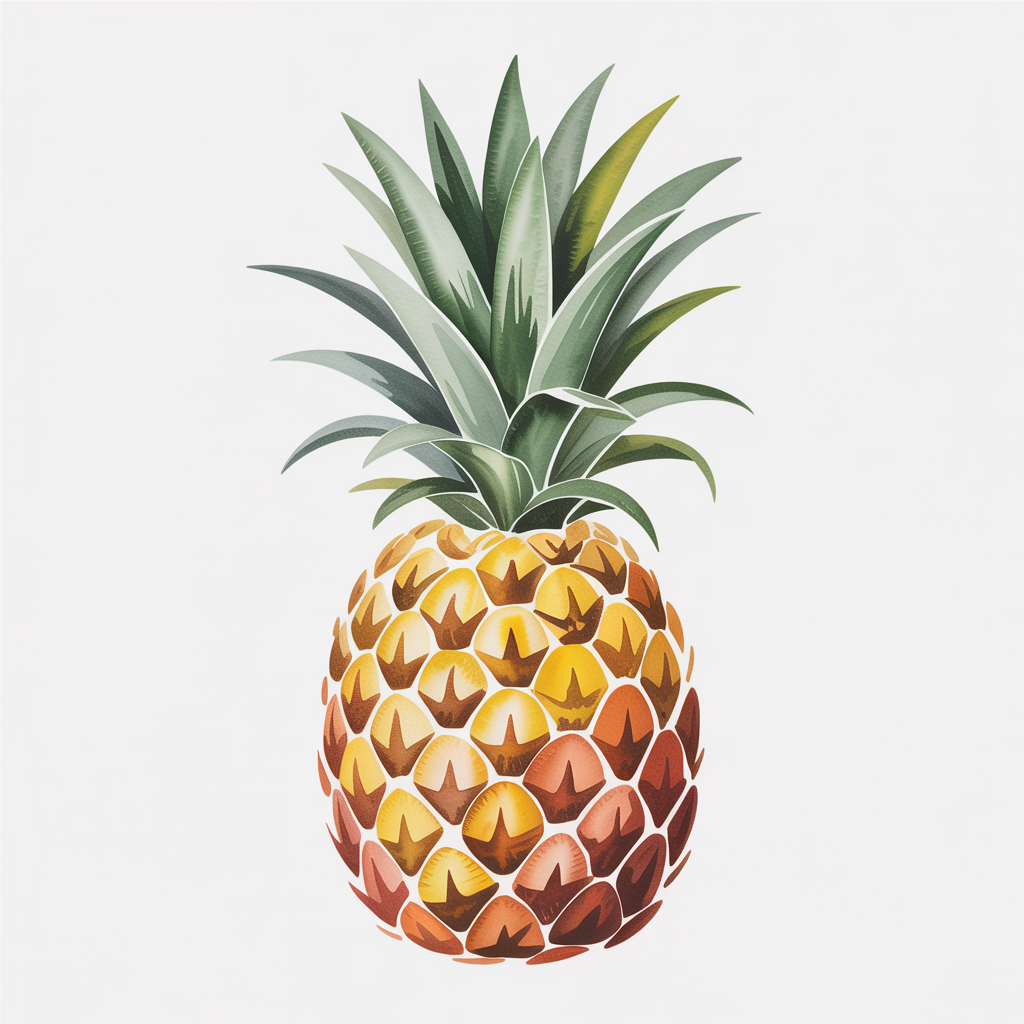
The pineapple stands out with its bold texture and leafy crown. It adds an exotic touch to your composition. Warm yellow and brown tones create a rich base, while green leaves add contrast.
This motif helps you practice patterns and repetition. You learn how to move from a rough sketch to more defined structures. The leaves also allow you to explore broader brush strokes with cooler tones. The result feels balanced and lively.
How to paint it:
Sketch the basic pineapple shape
Apply layered yellow washes
Add brown tones for texture and depth
Paint the leaves with different shades of green
Use a fine brush to define the pattern
Gentle Pear
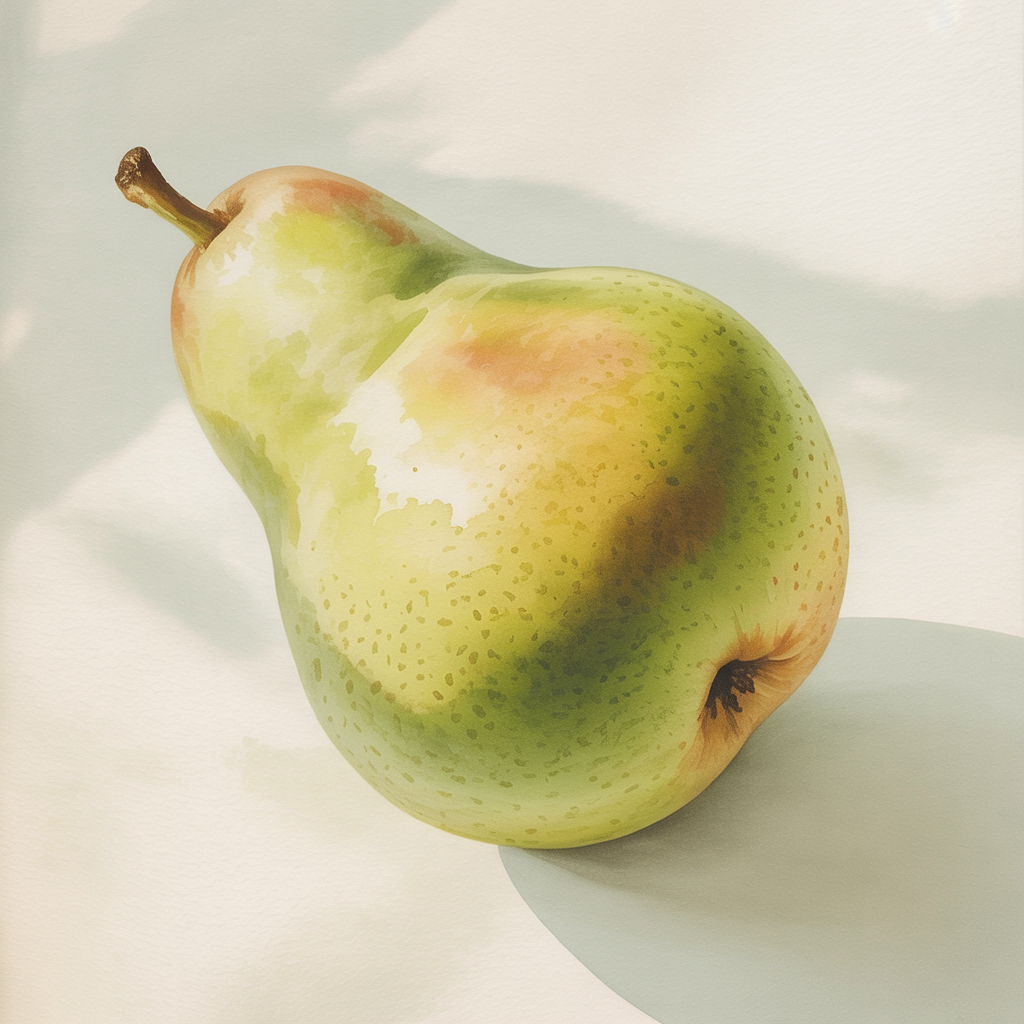
The pear has a soft, flowing shape that feels calm and elegant. Its gentle transition from base to top creates a natural movement. Light yellow and soft green tones work perfectly for smooth gradients.
This is a great subject for practicing blending. You learn how to create soft transitions while keeping a clear outline. The organic shape draws attention to subtle shading and light.
How to paint it:
Lightly sketch the pear shape
Apply a soft yellow-green base
Add slightly darker green along the edges
Create gentle shadows on one side
Blend transitions using clean water
Bright Orange
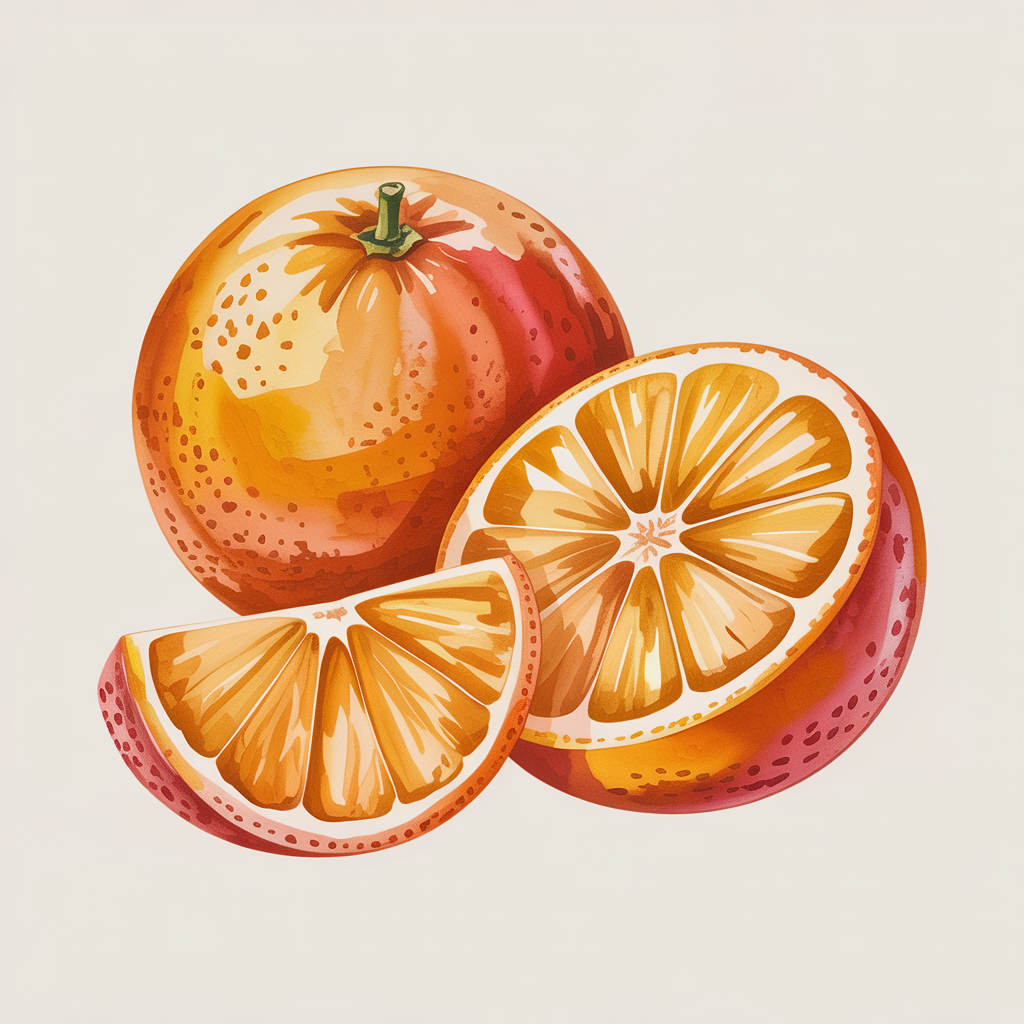
The orange stands out with its vibrant color and subtle skin texture. Its round shape and center detail make it interesting to observe. Warm orange tones mixed with hints of red enhance the freshness.
Here you practice creating textured surfaces. Small, uneven brush strokes suggest the pores of the peel. You also learn how to preserve highlights. The fruit looks lively and dimensional.
How to paint it:
Sketch a simple round outline
Apply a light orange base layer
Add small red accents for texture
Leave tiny white areas for highlights
Build soft shadows around the shape
Cool Watermelon
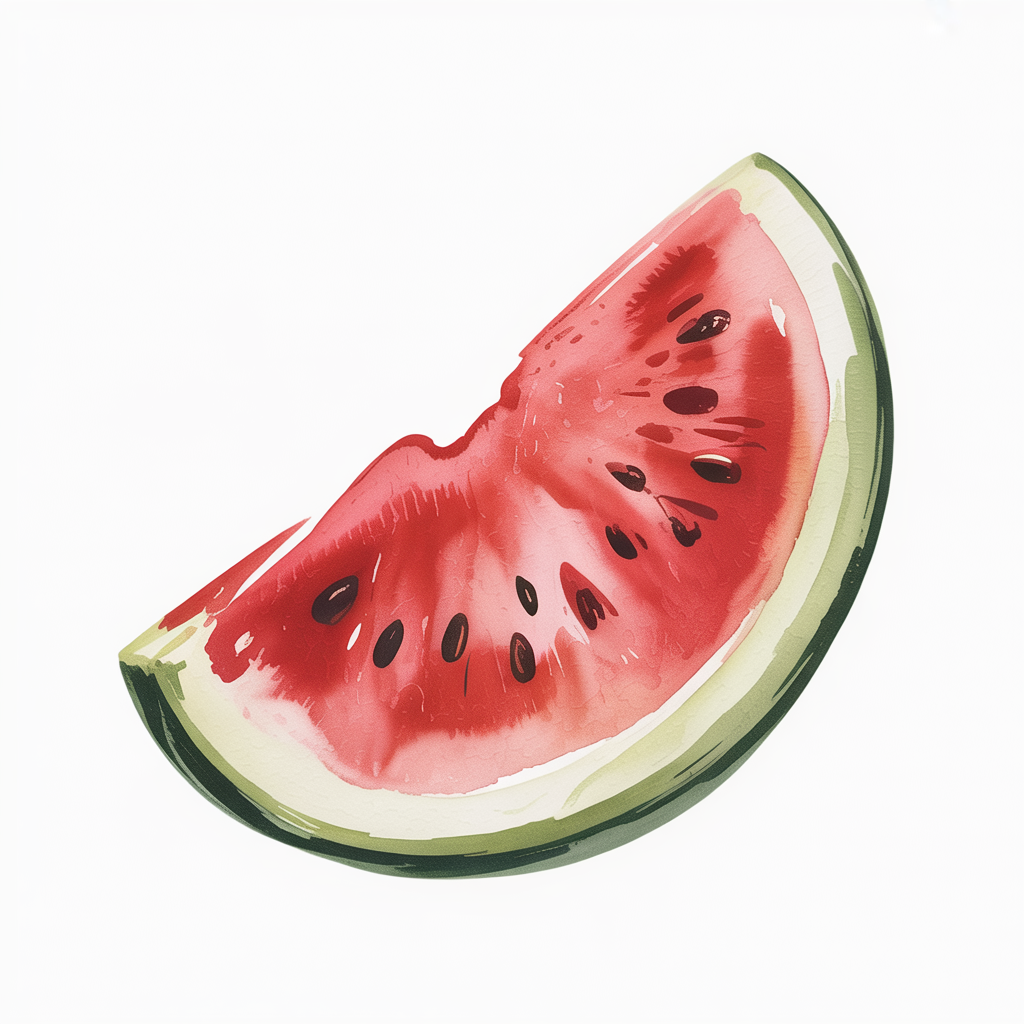
A slice of watermelon reveals a vibrant red center and a green rind. The contrast between colors makes it visually striking yet balanced. Small black seeds add detail.
This motif teaches you how to combine multiple colors in one subject. You practice creating clean edges while keeping soft transitions. The seeds offer a chance to refine details.
How to paint it:
Sketch the slice shape
Apply a red wash for the inside
Paint the rind with green and a hint of yellow
Add small black seeds with a fine brush
Blend transitions with clean water
Sweet Cherries
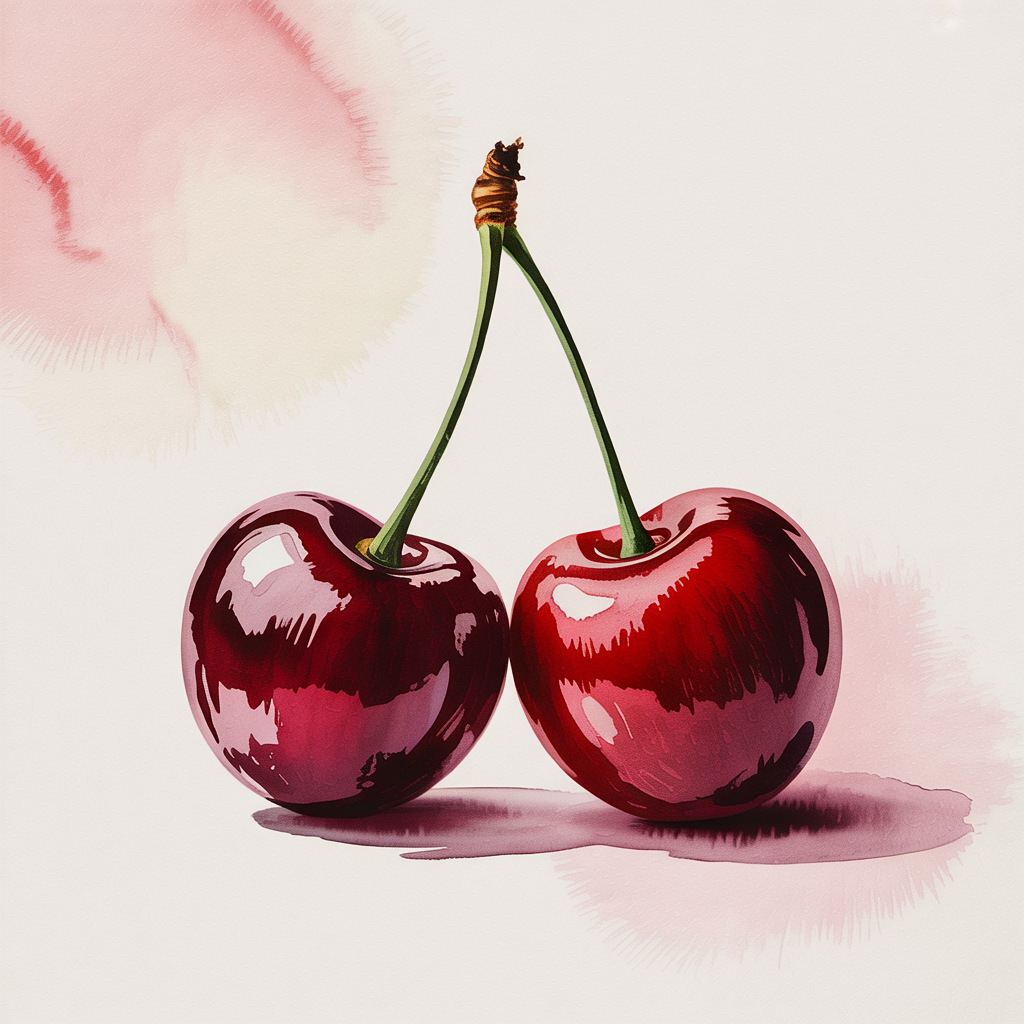
Cherries feel playful and decorative. Their glossy surface reflects light beautifully. Deep red tones combined with small white highlights create a shiny effect.
This subject helps you understand light and shadow. You practice leaving bright spots for reflections and adding darker tones around them. The connected stems add extra interest.
How to paint it:
Sketch two connected cherries
Apply a rich red base
Add darker shading areas
Leave small white highlights
Paint stems with soft brown and green
Exotic Kiwi
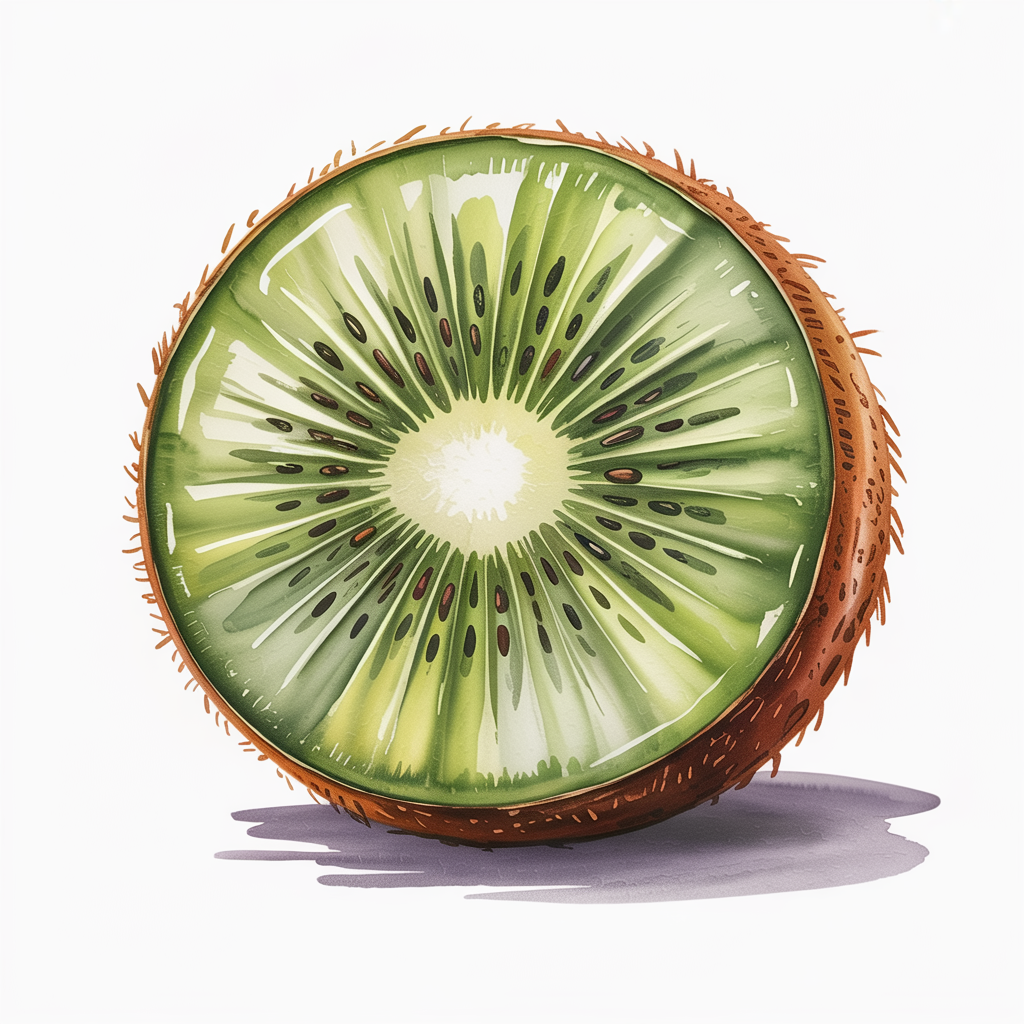
The kiwi stands out with its bright green center and tiny seeds. A mix of green tones and dark dots creates an interesting texture. The outer skin can be suggested with rough brush strokes.
This motif combines detailed elements with larger color areas. You learn how to place repeating shapes while keeping focus. The outer skin allows you to experiment with dry brush techniques.
How to paint it:
Sketch the half kiwi shape
Apply a light green base
Deepen the color toward the center
Add small dark seeds
Use a dry brush for the outer skin texture
Application Tips
Place your watercolor fruits in a simple frame or on a small easel to use them as decoration. You can turn individual pieces into postcards or combine them into a personal calendar. Always let your paper dry fully and press it gently to keep it flat. Watercolor looks especially beautiful on light backgrounds.
Common Mistakes
Using too much water can cause colors to bleed and lose definition. Try working in thin layers and build up gradually. Pressing too hard with your brush can damage the paper texture. Work gently and in layers instead. Keeping your pencil sketch too dark can show through the paint, so keep it light.
FAQ
Which brush size is best
Small brushes like size 0 or 1 work well for details, while sizes 6 to 8 are great for larger areas.
What paper should you use
A 300 gsm watercolor paper with a textured or semi-textured surface gives the best results.
How do you avoid unwanted white spots
Plan your highlights in advance and start with lighter colors before adding darker tones.
A Moment of Calm for Your Home
Let these soft watercolor fruits bring a gentle glow into your everyday life. You can revisit these motifs again and again or display them as a collection. Enjoy the quiet moment when brush and color meet. Come back anytime you need new inspiration.