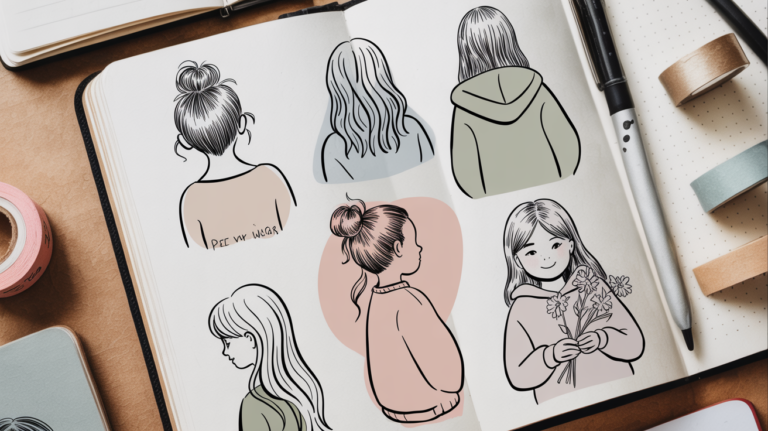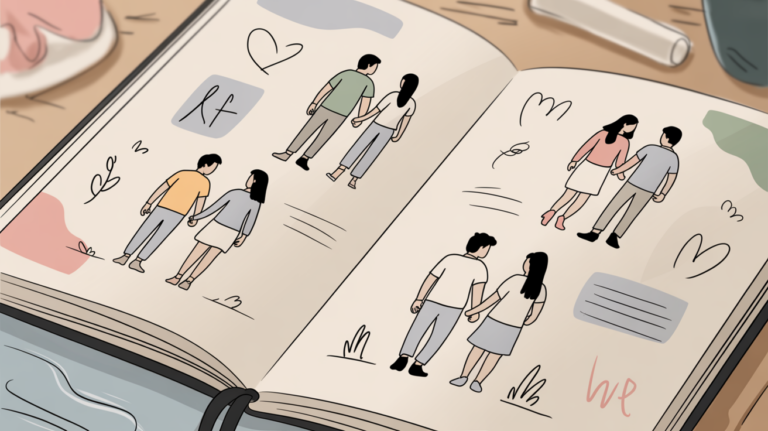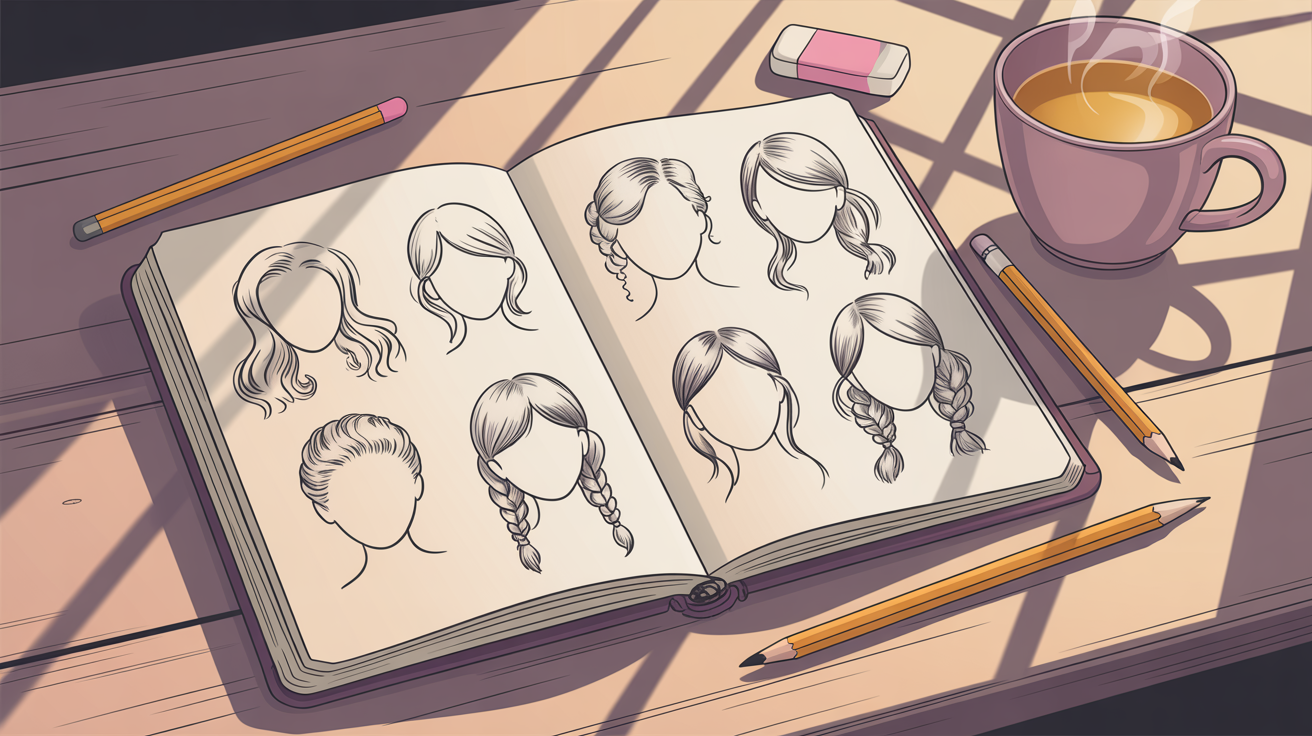
10 Hair Sketch Ideas
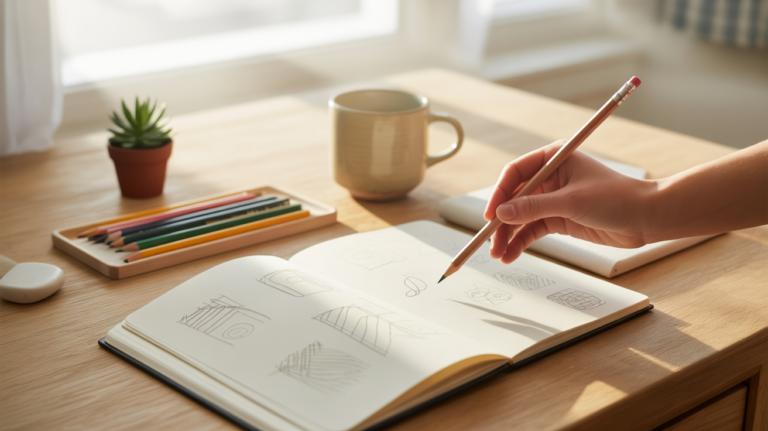
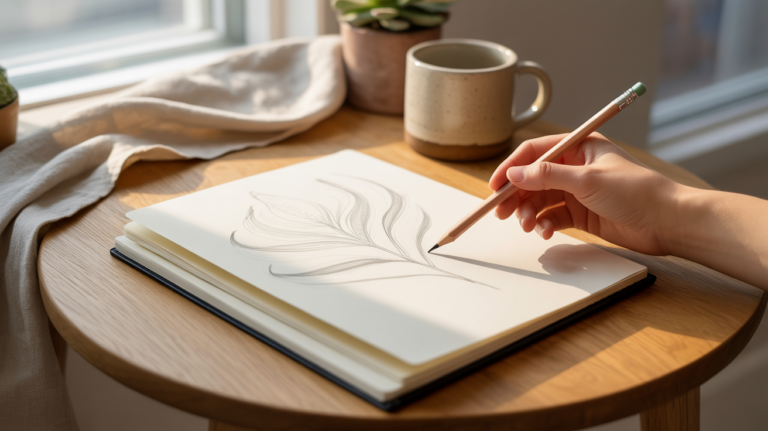
Morning light filters through the curtains, casting gentle shadows across the sketchbook spread on your desk. Sketching hair can feel like chasing individual strands in a breeze, while your mind seeks a calm rhythm. In this quiet corner, a single pencil can capture the dance of light and flow on each lock. Let the sound of leaves from the garden outside guide your hand as you explore subtle curves and natural movement. Embrace the simplicity of minimal lines and soft shading to bring each hairstyle to life.
How to start drawing
Many people feel overwhelmed by the complexity of hair. We tend to focus on every strand instead of seeing the whole shape. By simplifying the process, you can find a relaxed pace and clear structure. Use a minimal approach to lay out broad shapes and flow.
- Basic shape: sketch the head outline first.
- Flow lines: draw light curves indicating direction.
- Value blocks: mark areas of shadow and light.
Simple Supplies for This Style
You really only need a pencil, an eraser, and smooth sketch paper. A single soft pencil grade can capture both outlines and shading. A gentle eraser helps refine highlights. Keep your tools minimal to stay focused on form and flow.
Classic Waves
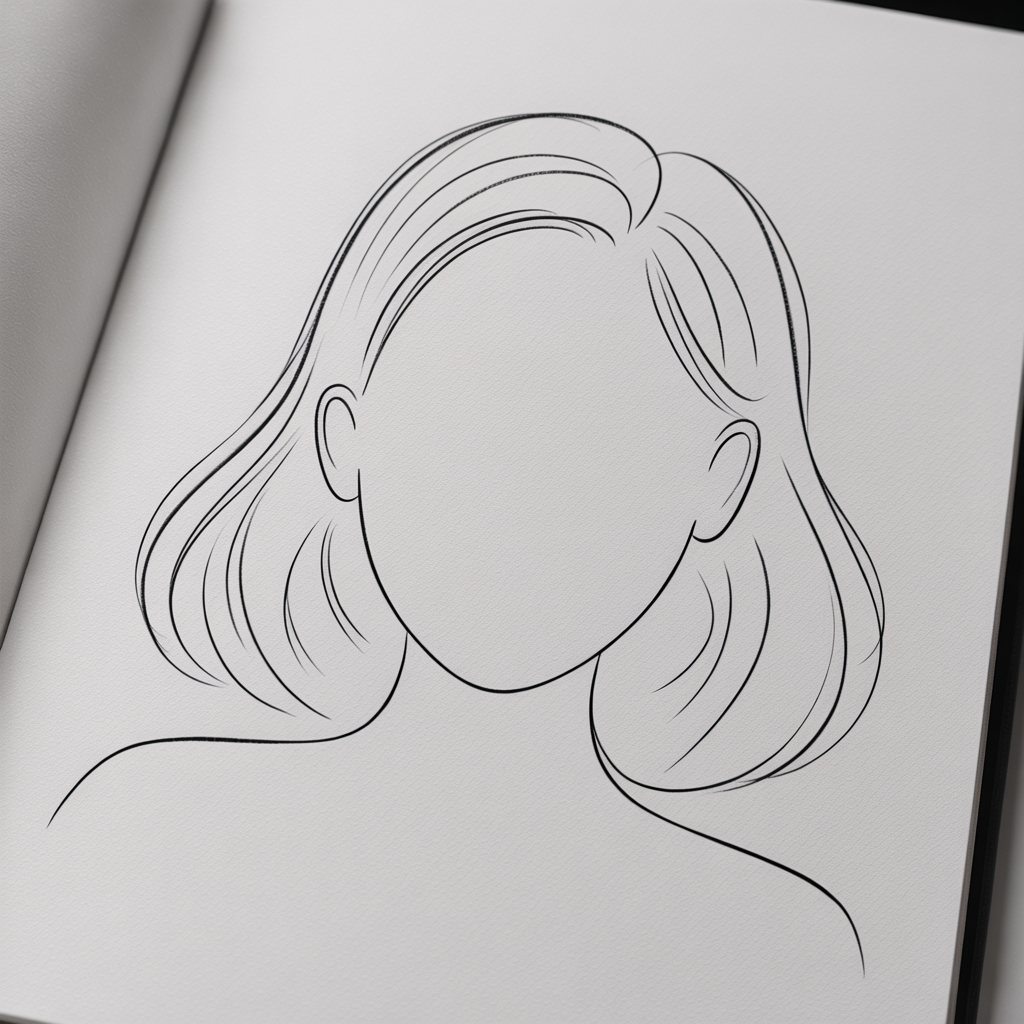
This style captures the gentle rise and fall of smooth hair. It suits a relaxed portrait or a simple head study on your wall. You can adjust the wave size to match different lengths and textures. It brings a timeless elegance to any sketchbook page.
The flowing curves mimic natural light reflections and shadows. Each wave becomes a guide for shading and depth. This idea works well because it emphasizes large shapes over tiny details. It encourages a calm, rhythmic drawing motion.
How to draw it:
- Start with a gentle S-curve for the outer hairline.
- Add parallel curves inside, following the initial flow.
- Shade the valleys between waves lightly.
- Lift highlights with an eraser along the top ridges.
Loose Bun
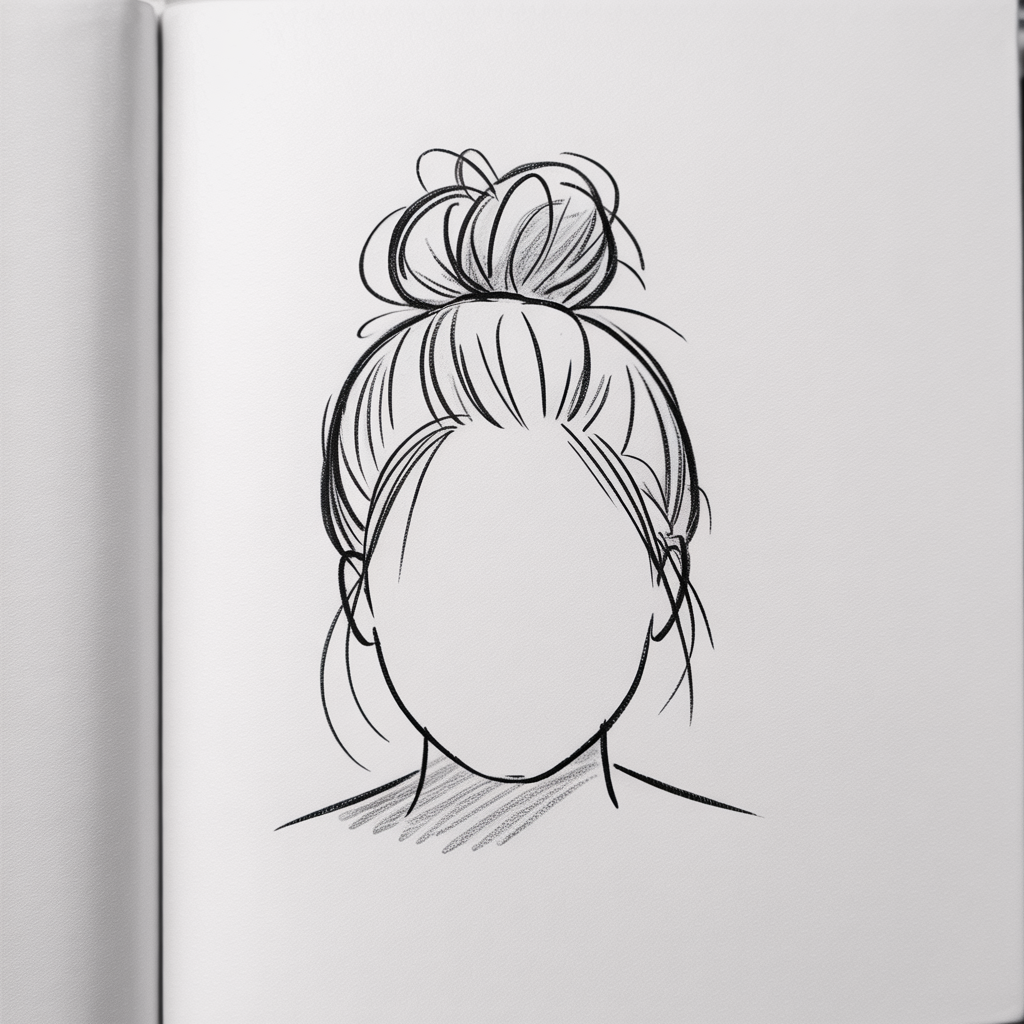
A loose bun sketch feels informal and inviting. It’s perfect for capturing a casual moment or a relaxed morning routine. The soft loops and stray strands add a sense of lived-in warmth. You can place it low or high, depending on the mood you want.
This idea works because it balances structure with organic detail. The central mass anchors the shape, while loose hairs give it character. It’s special for its hint of movement and imperfection. You get to practice both tight curves and light, free lines.
How to draw it:
- Draw a circle for the bun’s main volume.
- Add looping lines around the circle to suggest hair wrapping.
- Sketch a few stray strands falling softly.
- Shade the base more densely, leaving highlights on top.
Straight Ponytail
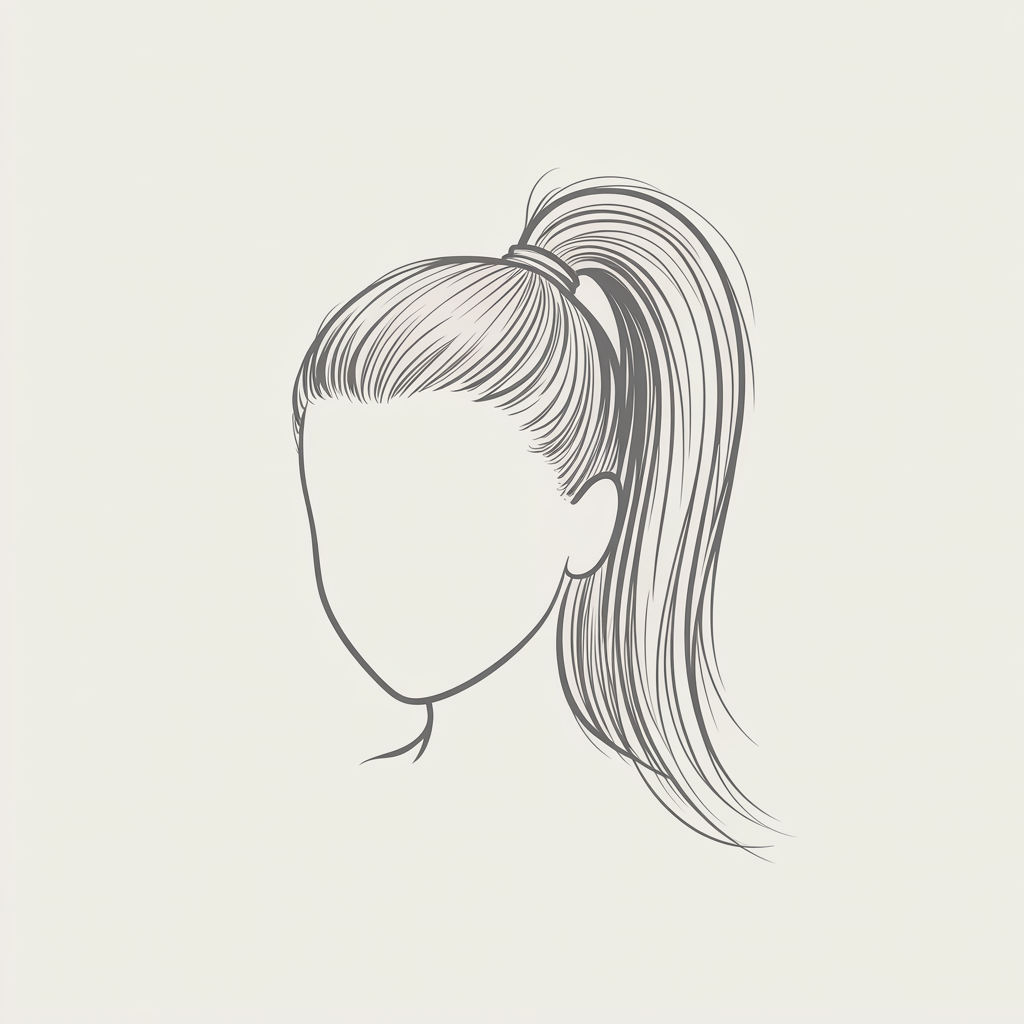
The straight ponytail offers clean lines and strong direction. It’s a good exercise in controlling line weight and consistency. You can angle it up high for a sporty feel or let it fall low at the nape. This idea brings clarity and elegance to your sketch practice.
What makes it special is its simplicity and focus on movement. The ponytail sweeps away from the face, creating a natural flow. It helps you study how hair gathers and falls under gravity. It’s a structured yet free form to refine your strokes.
How to draw it:
- Sketch the head and a small band at the back.
- Draw two parallel lines extending from the band.
- Connect those lines with a smooth curve at the end.
- Shade one side slightly darker for depth.
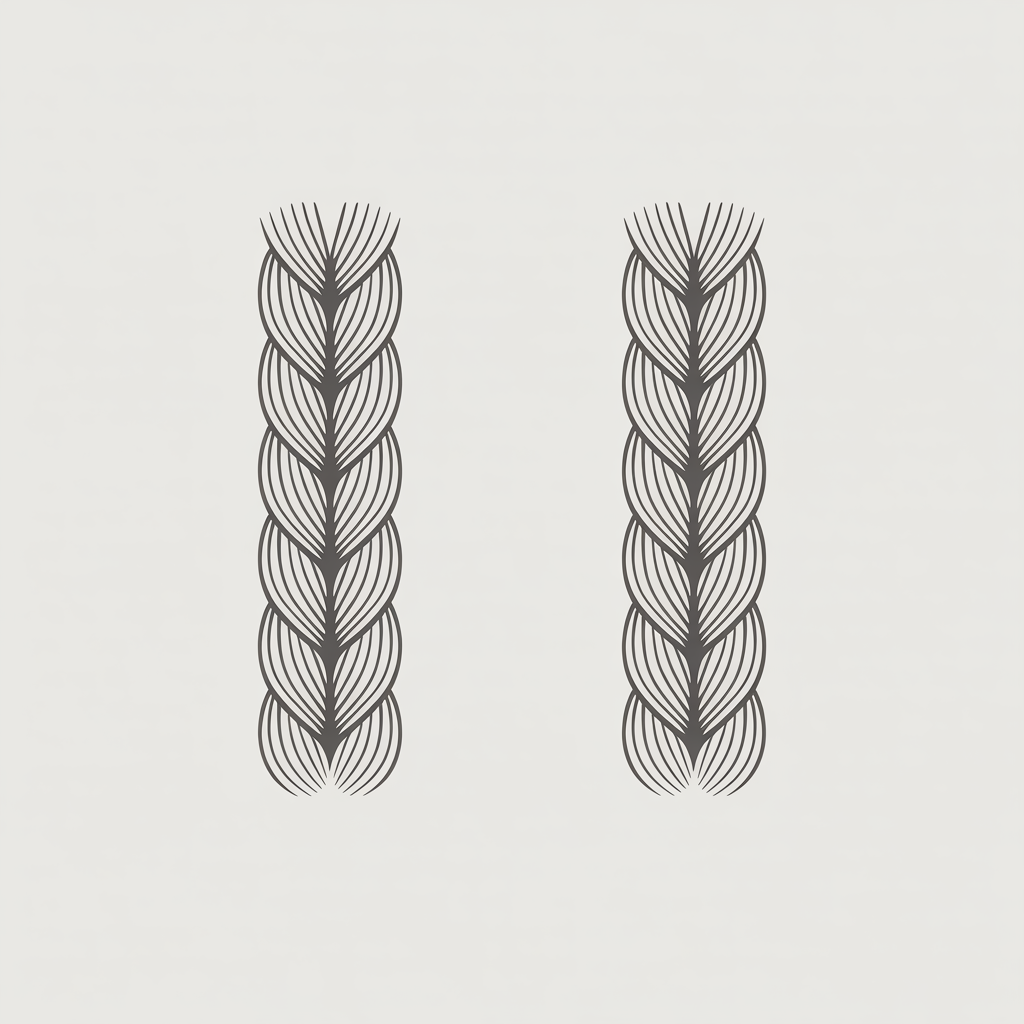
Braided Crown
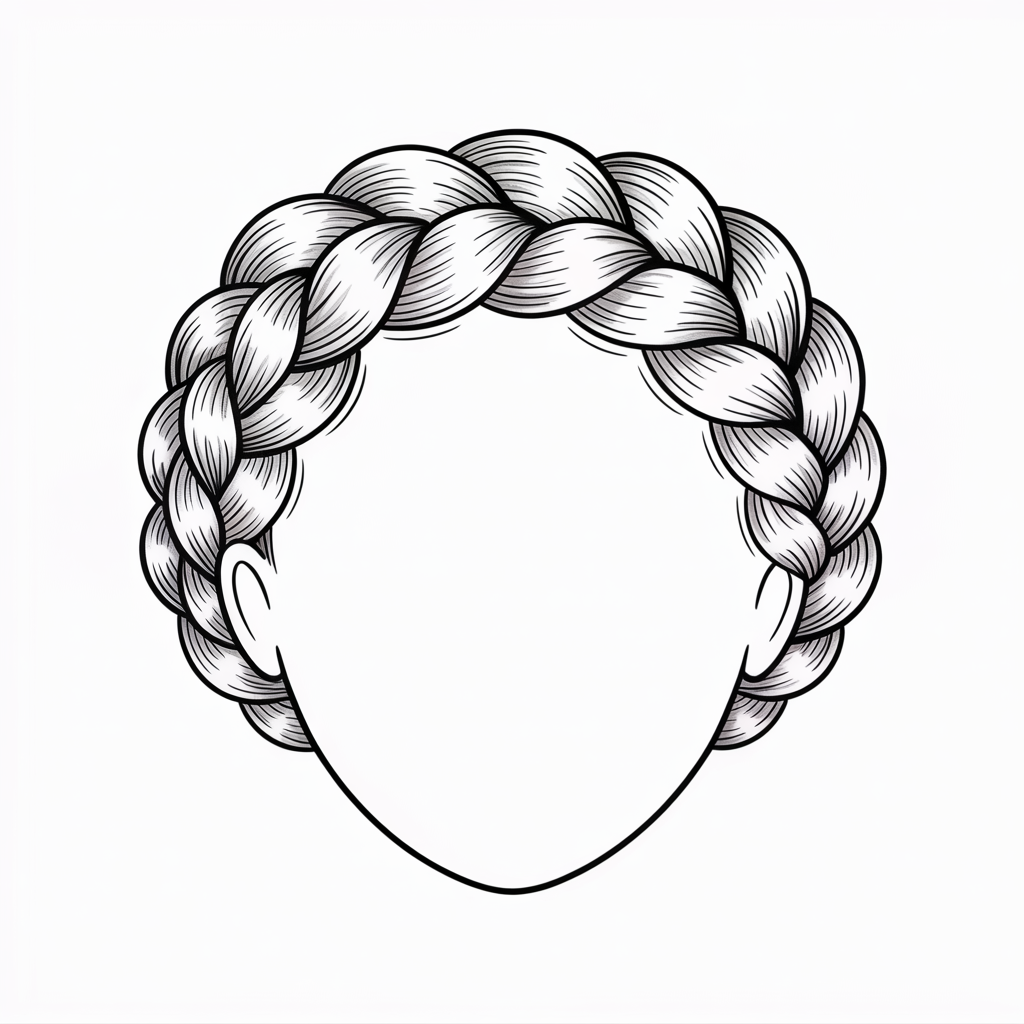
A braided crown frames the head like a gentle halo. It’s perfect for a soft, romantic look in your sketchbook. You can keep braid loops wide for a loose feel or tighter for a neat style. It guides your hand through repeated, rhythmic patterns.
This idea works because braids naturally break hair into simple units. Each segment becomes a small shape to practice shading. The repeating pattern helps you see consistency in texture. It also adds a decorative element to any portrait.
How to draw it:
- Outline two bands crossing over the crown.
- Divide each band into even loops.
- Shade alternating loops to show depth.
- Erase light lines to reveal highlights along the top.
Messy Bob
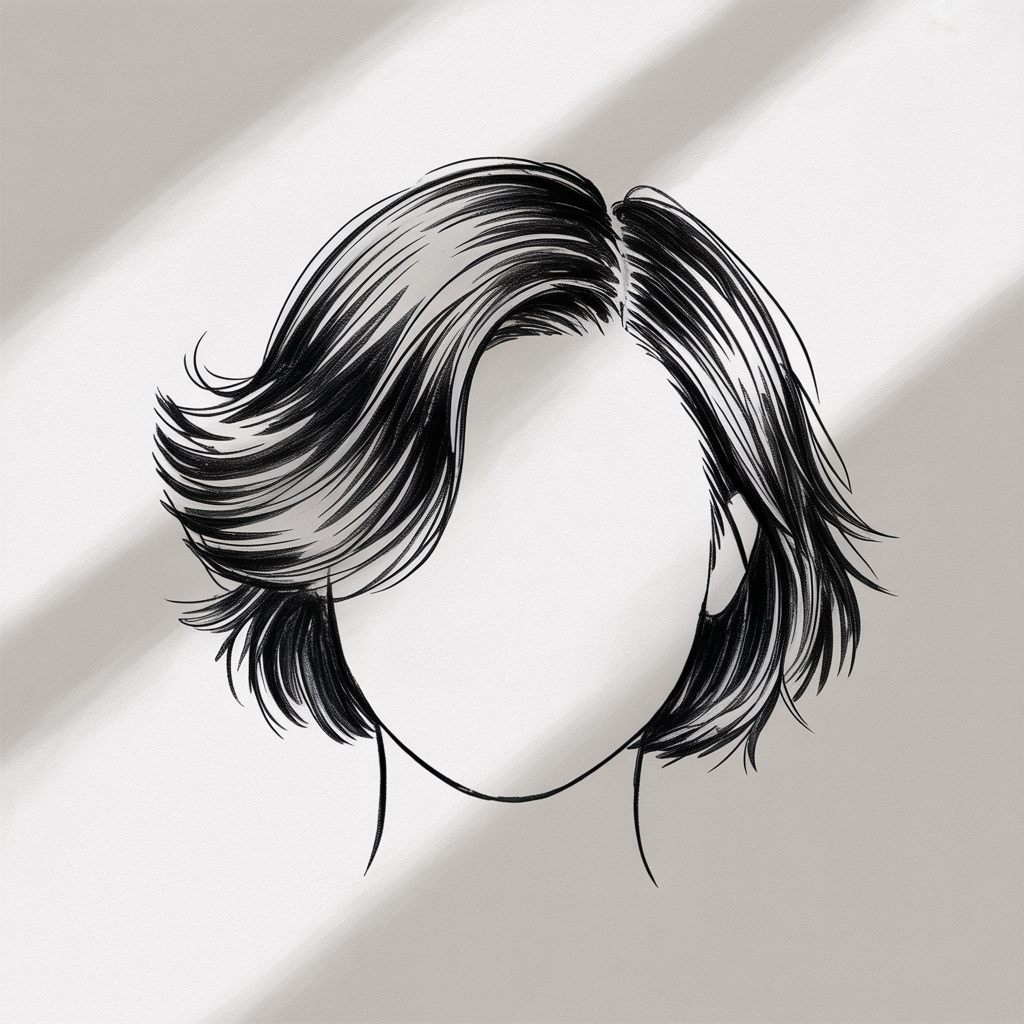
A messy bob captures casual charm in a few quick strokes. The short length and uneven ends give it personality. It’s ideal for practicing varied line lengths and angles. You can play with texture by adding small, scattered marks.
What makes this special is its playful irregularity. The bob’s compact shape contrasts with loose, unpredictable strands. It teaches you to combine bold outlines with delicate detail. It’s a fun way to loosen up your technique.
How to draw it:
- Draw a gentle arc for the top of the head.
- Add jagged, short strokes around for ends.
- Shade lightly near the roots.
- Use quick, small lines to suggest texture.
Curly Afro
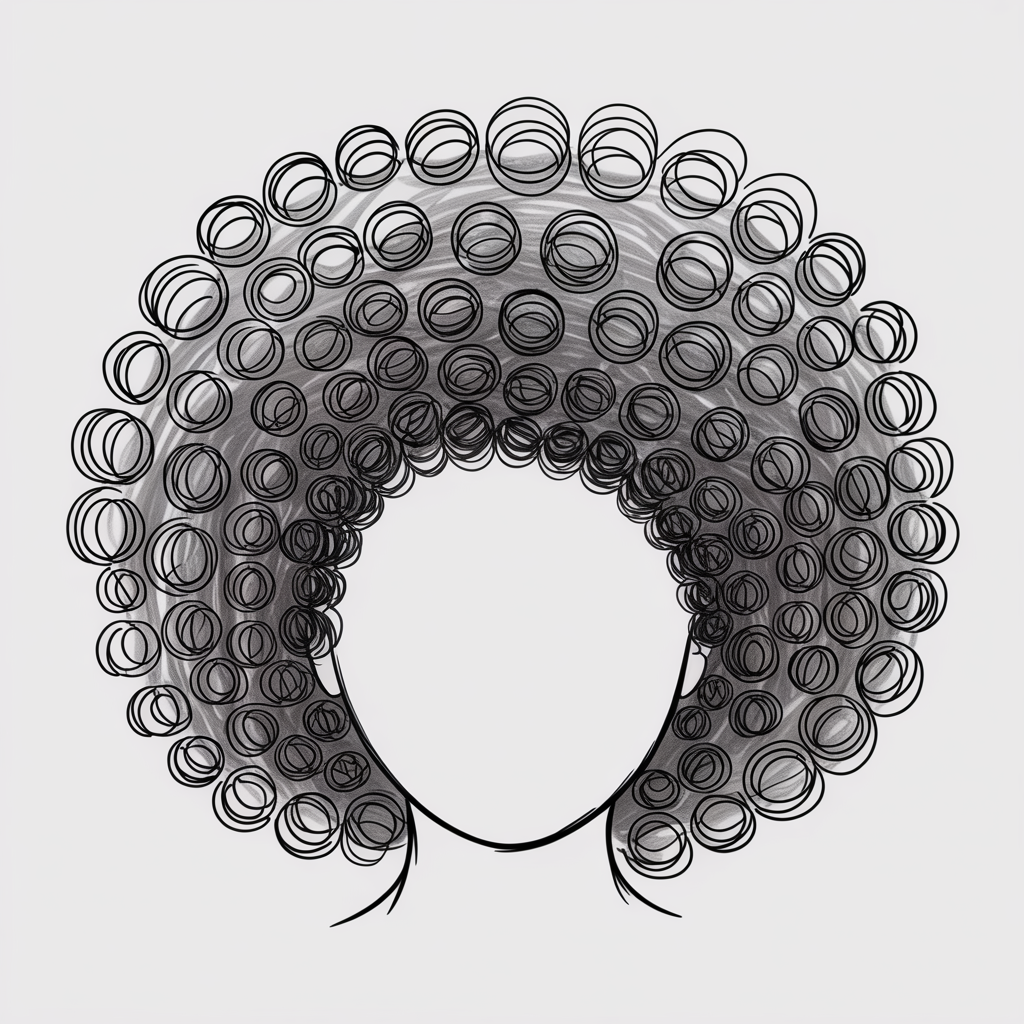
Sketching a curly afro lets you explore tight, circular patterns. It’s both energetic and meditative. You can vary curl sizes to create volume and depth. This style brings a joyful, tactile quality to your practice.
This idea shines because curls can be simplified into loops and spirals. Each curl becomes a small, independent element to shape and shade. It helps you build confidence in drawing repetitive forms. It’s a bold contrast to long, flowing styles.
How to draw it:
- Outline the overall round volume around the head.
- Fill it with small circular or spiral strokes.
- Darken inner curves for depth.
- Leave outer curls lighter to catch light.
Side-Swept Hair
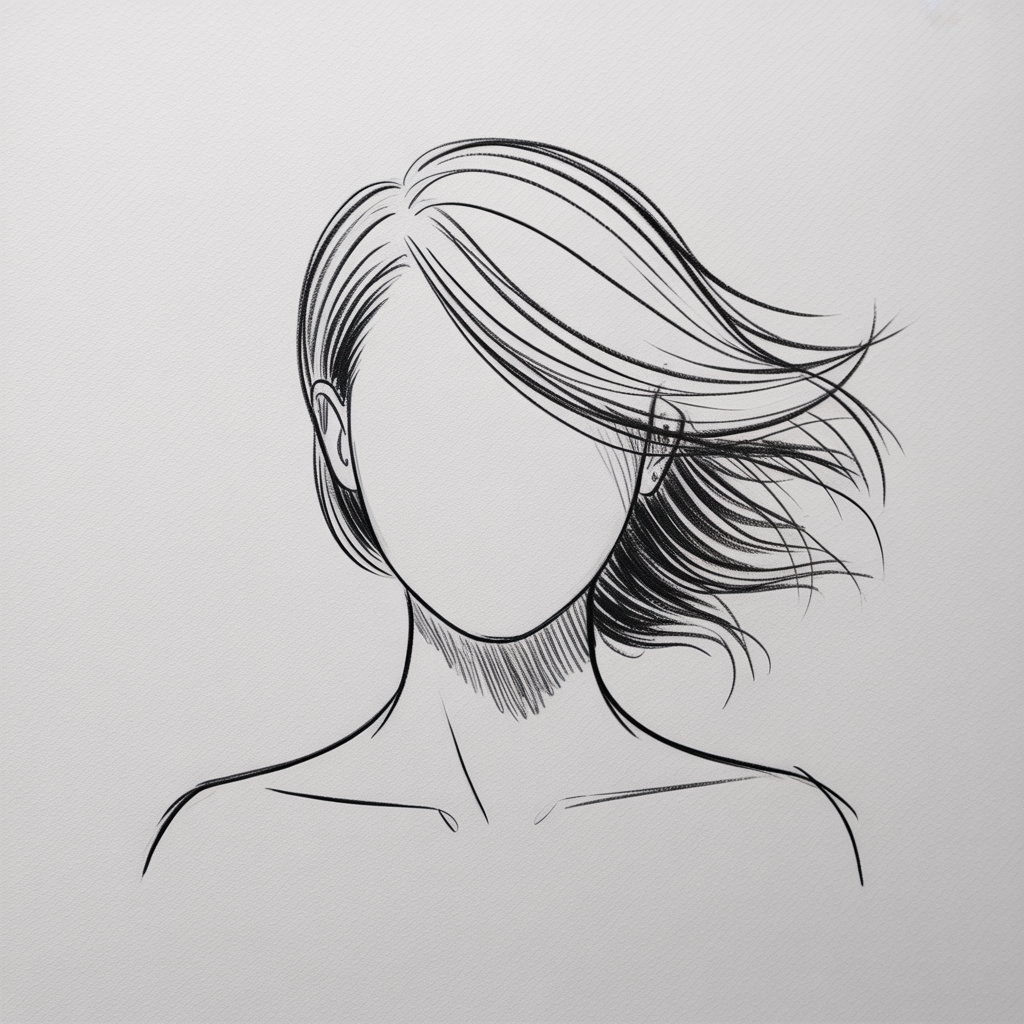
Side-swept hair creates a gentle asymmetry in your sketch. It drapes softly across one side of the face. This style works well for capturing personality and mood. You can make it sleek or slightly tousled for different effects.
What makes it work is the directional emphasis it provides. One side frames the face while the other stays open. It guides viewers’ attention and adds a dynamic touch. It’s a simple way to introduce movement.
How to draw it:
- Draw a parting line slightly off-center.
- Sketch hair flowing to one side with long, curved strokes.
- Shade the underside of the sweep for contrast.
- Highlight the top strands with lighter marks.
Beachy Waves
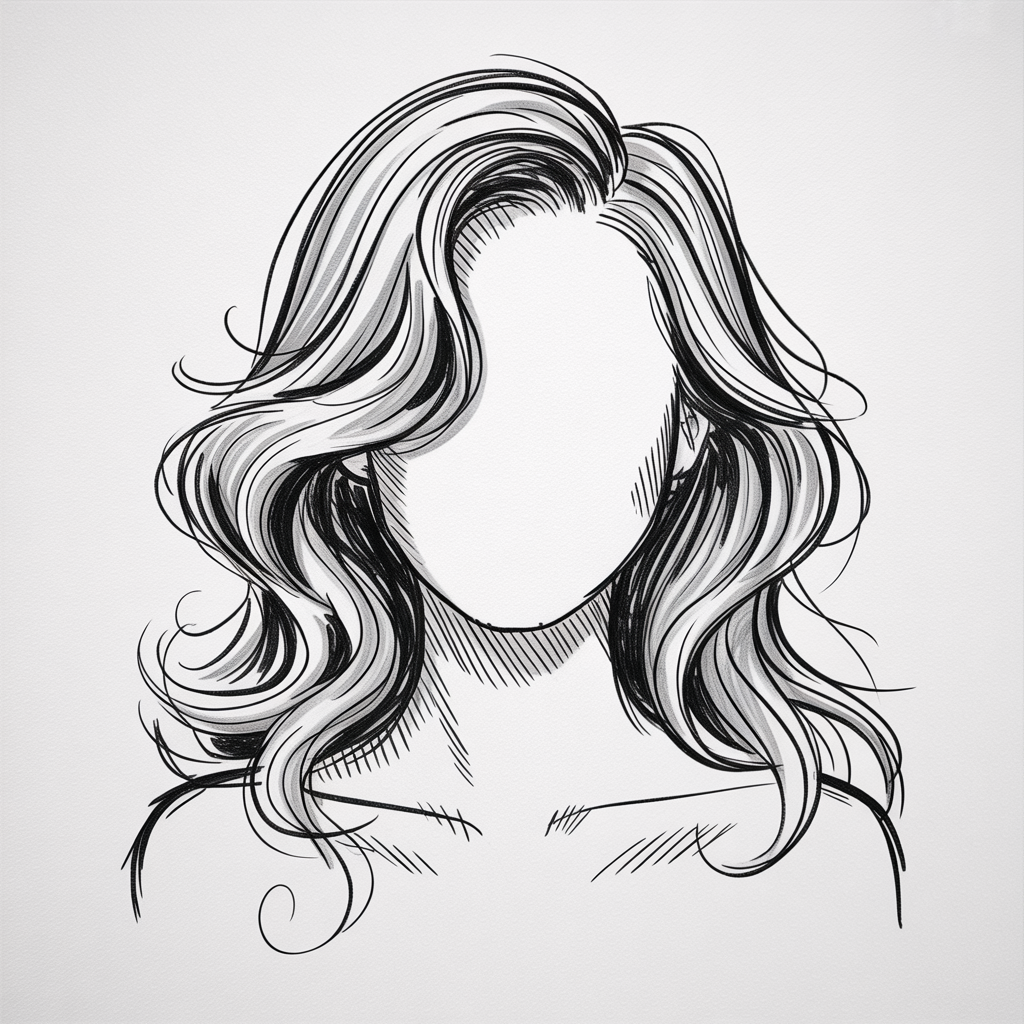
Beachy waves feel relaxed and organic, like wind-tossed hair. They combine loose waves with small, textured marks. It’s perfect for a laid-back illustration or journal entry. You can add a few stray lines to evoke salt and sea breeze.
This idea works because it layers large and small waves together. The main curves capture rhythm, while smaller strokes suggest texture. It teaches you to balance bold shapes with fine detail. It’s a soothing pattern to repeat.
How to draw it:
- Start with broad, loose S-curves along the length.
- Add shorter zigzag lines between the main curves.
- Shade the bends lightly for depth.
- Erase small areas for scattered highlights.
Low Chignon
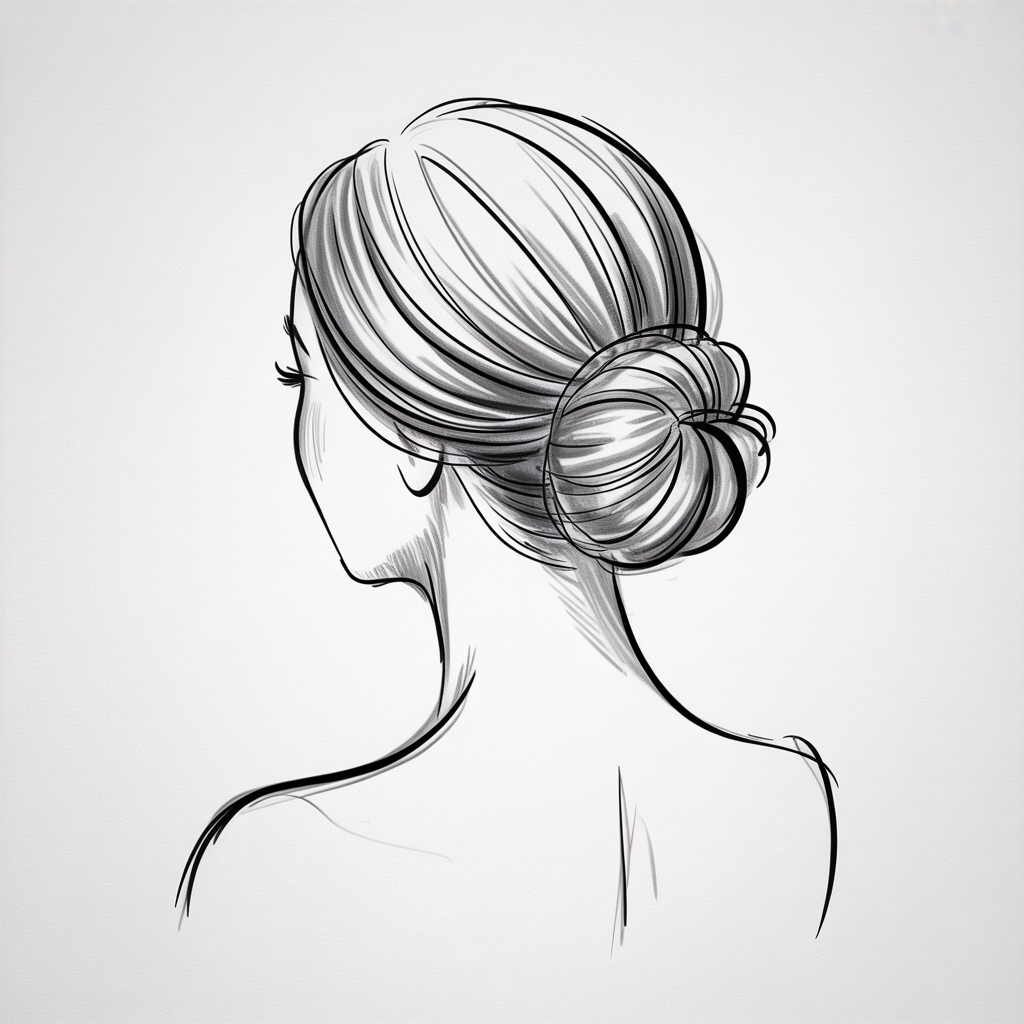
A low chignon sketch feels both elegant and understated. It sits at the nape and gathers hair into a soft knot. You can keep lines light and smooth for a refined look. It’s ideal for a quiet, composed portrait study.
This idea stands out for its simple structure and clean shapes. The chignon’s round form contrasts with the neck’s straight lines. It teaches you to render a solid volume with minimal strokes. It’s a calm, classical hairstyle to practice.
How to draw it:
- Draw the head shape and mark the nape.
- Add a small oval at the base for the bun.
- Sketch curved lines wrapping around the oval.
- Shade lightly under each fold for definition.
Twin Braids
Twin braids offer symmetry and balance in a sketch. They fall on either side of the head in neat, repeating patterns. It’s especially good for practicing even spacing and consistent shading. You can keep the braids loose or tight to vary the style.
What makes it special is the mirrored rhythm of the two braids. Each braid acts as a repeating form to refine your technique. It also adds a playful, youthful touch to any sketch. It’s a simple way to explore pattern and structure.
How to draw it:
- Outline two lines on each side for braid paths.
- Divide each path into equal segments.
- Connect segments with small, overlapping loops.
- Shade alternate loops to create a woven effect.
How to use these sketches
Use these hair ideas as daily warm-up exercises in your sketchbook. They can also serve as references when you plan a portrait or character study. Try combining two or three styles for more variety. Keep experimenting until each form feels natural.
Common mistakes
- Pressing the pencil too hard, leading to harsh lines.
- Getting lost in individual strands instead of the overall shape.
- Ignoring light source, which flattens the hair.
- Over-shading without varying value, making the sketch look muddy.
FAQ
How can I make hair look realistic without drawing every strand? Focus on large shapes and the flow of hair. Suggest texture with a few well-placed lines and areas of shading. Avoid overworking the details.
What pencil grade works best for hair sketches? A soft pencil like 2B or 4B gives a good range of light and dark. It lets you create smooth gradients and soft highlights with an eraser.
How long does it take to sketch a simple hairstyle? You can capture basic shapes in just five to ten minutes. Adding subtle shading may take another five minutes. Keep it short to stay fresh and loose.
Is it helpful to study real hair photos? Yes, reference photos show how light interacts with hair. Use them to observe patterns and highlight placement, then simplify in your sketch.
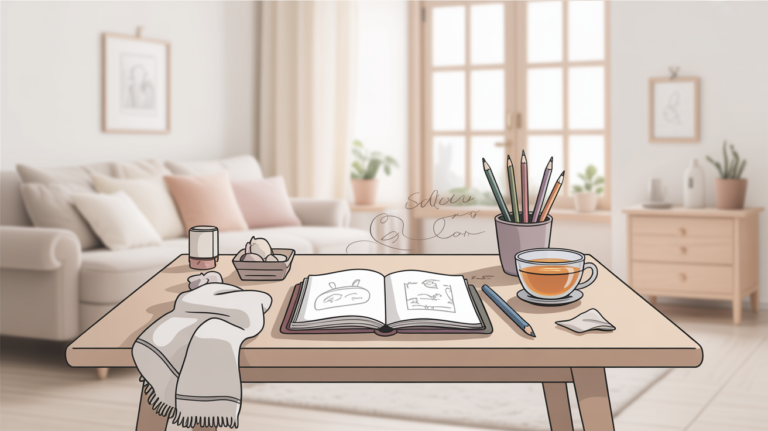
Quiet moments with pencil and paper
Let each hairstyle guide you into a peaceful drawing practice at home. Save your favorite ideas and return to them whenever you need a calm creative break. Over time, you’ll notice how your hand moves more confidently. May these simple sketches inspire quiet joy in your day.